
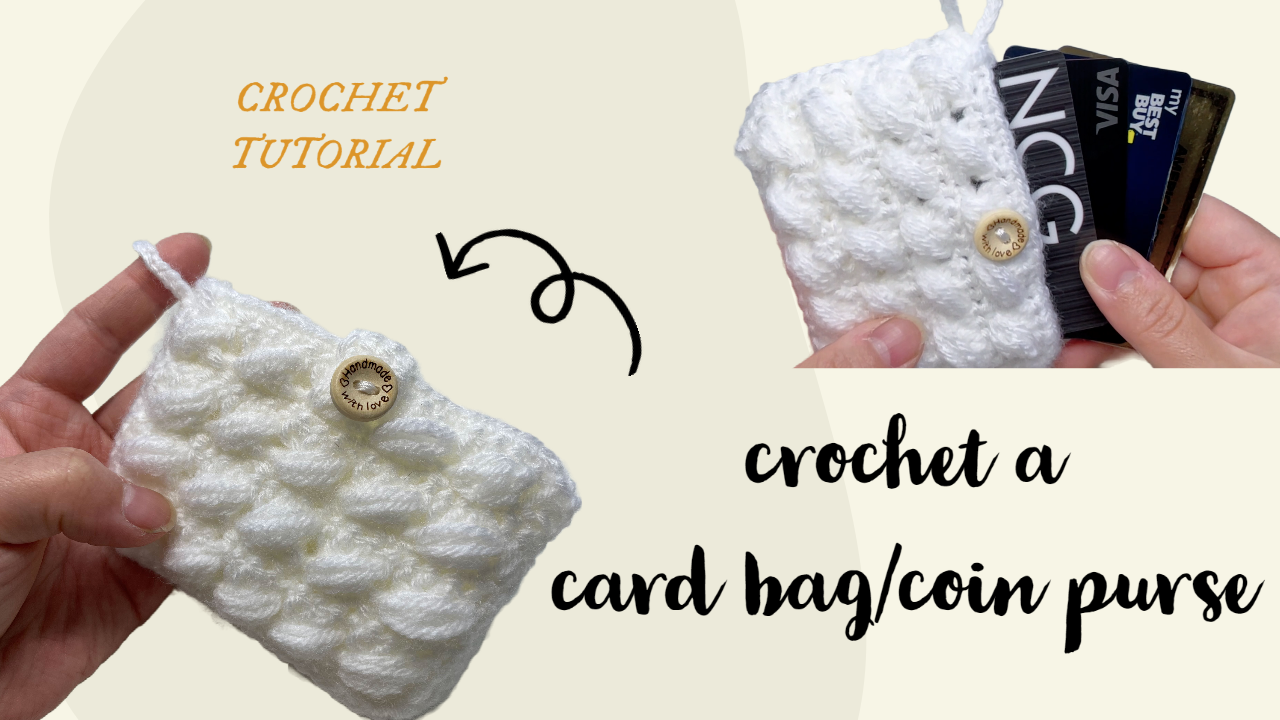
Crochet a Textured Card Holder with a Button Flap
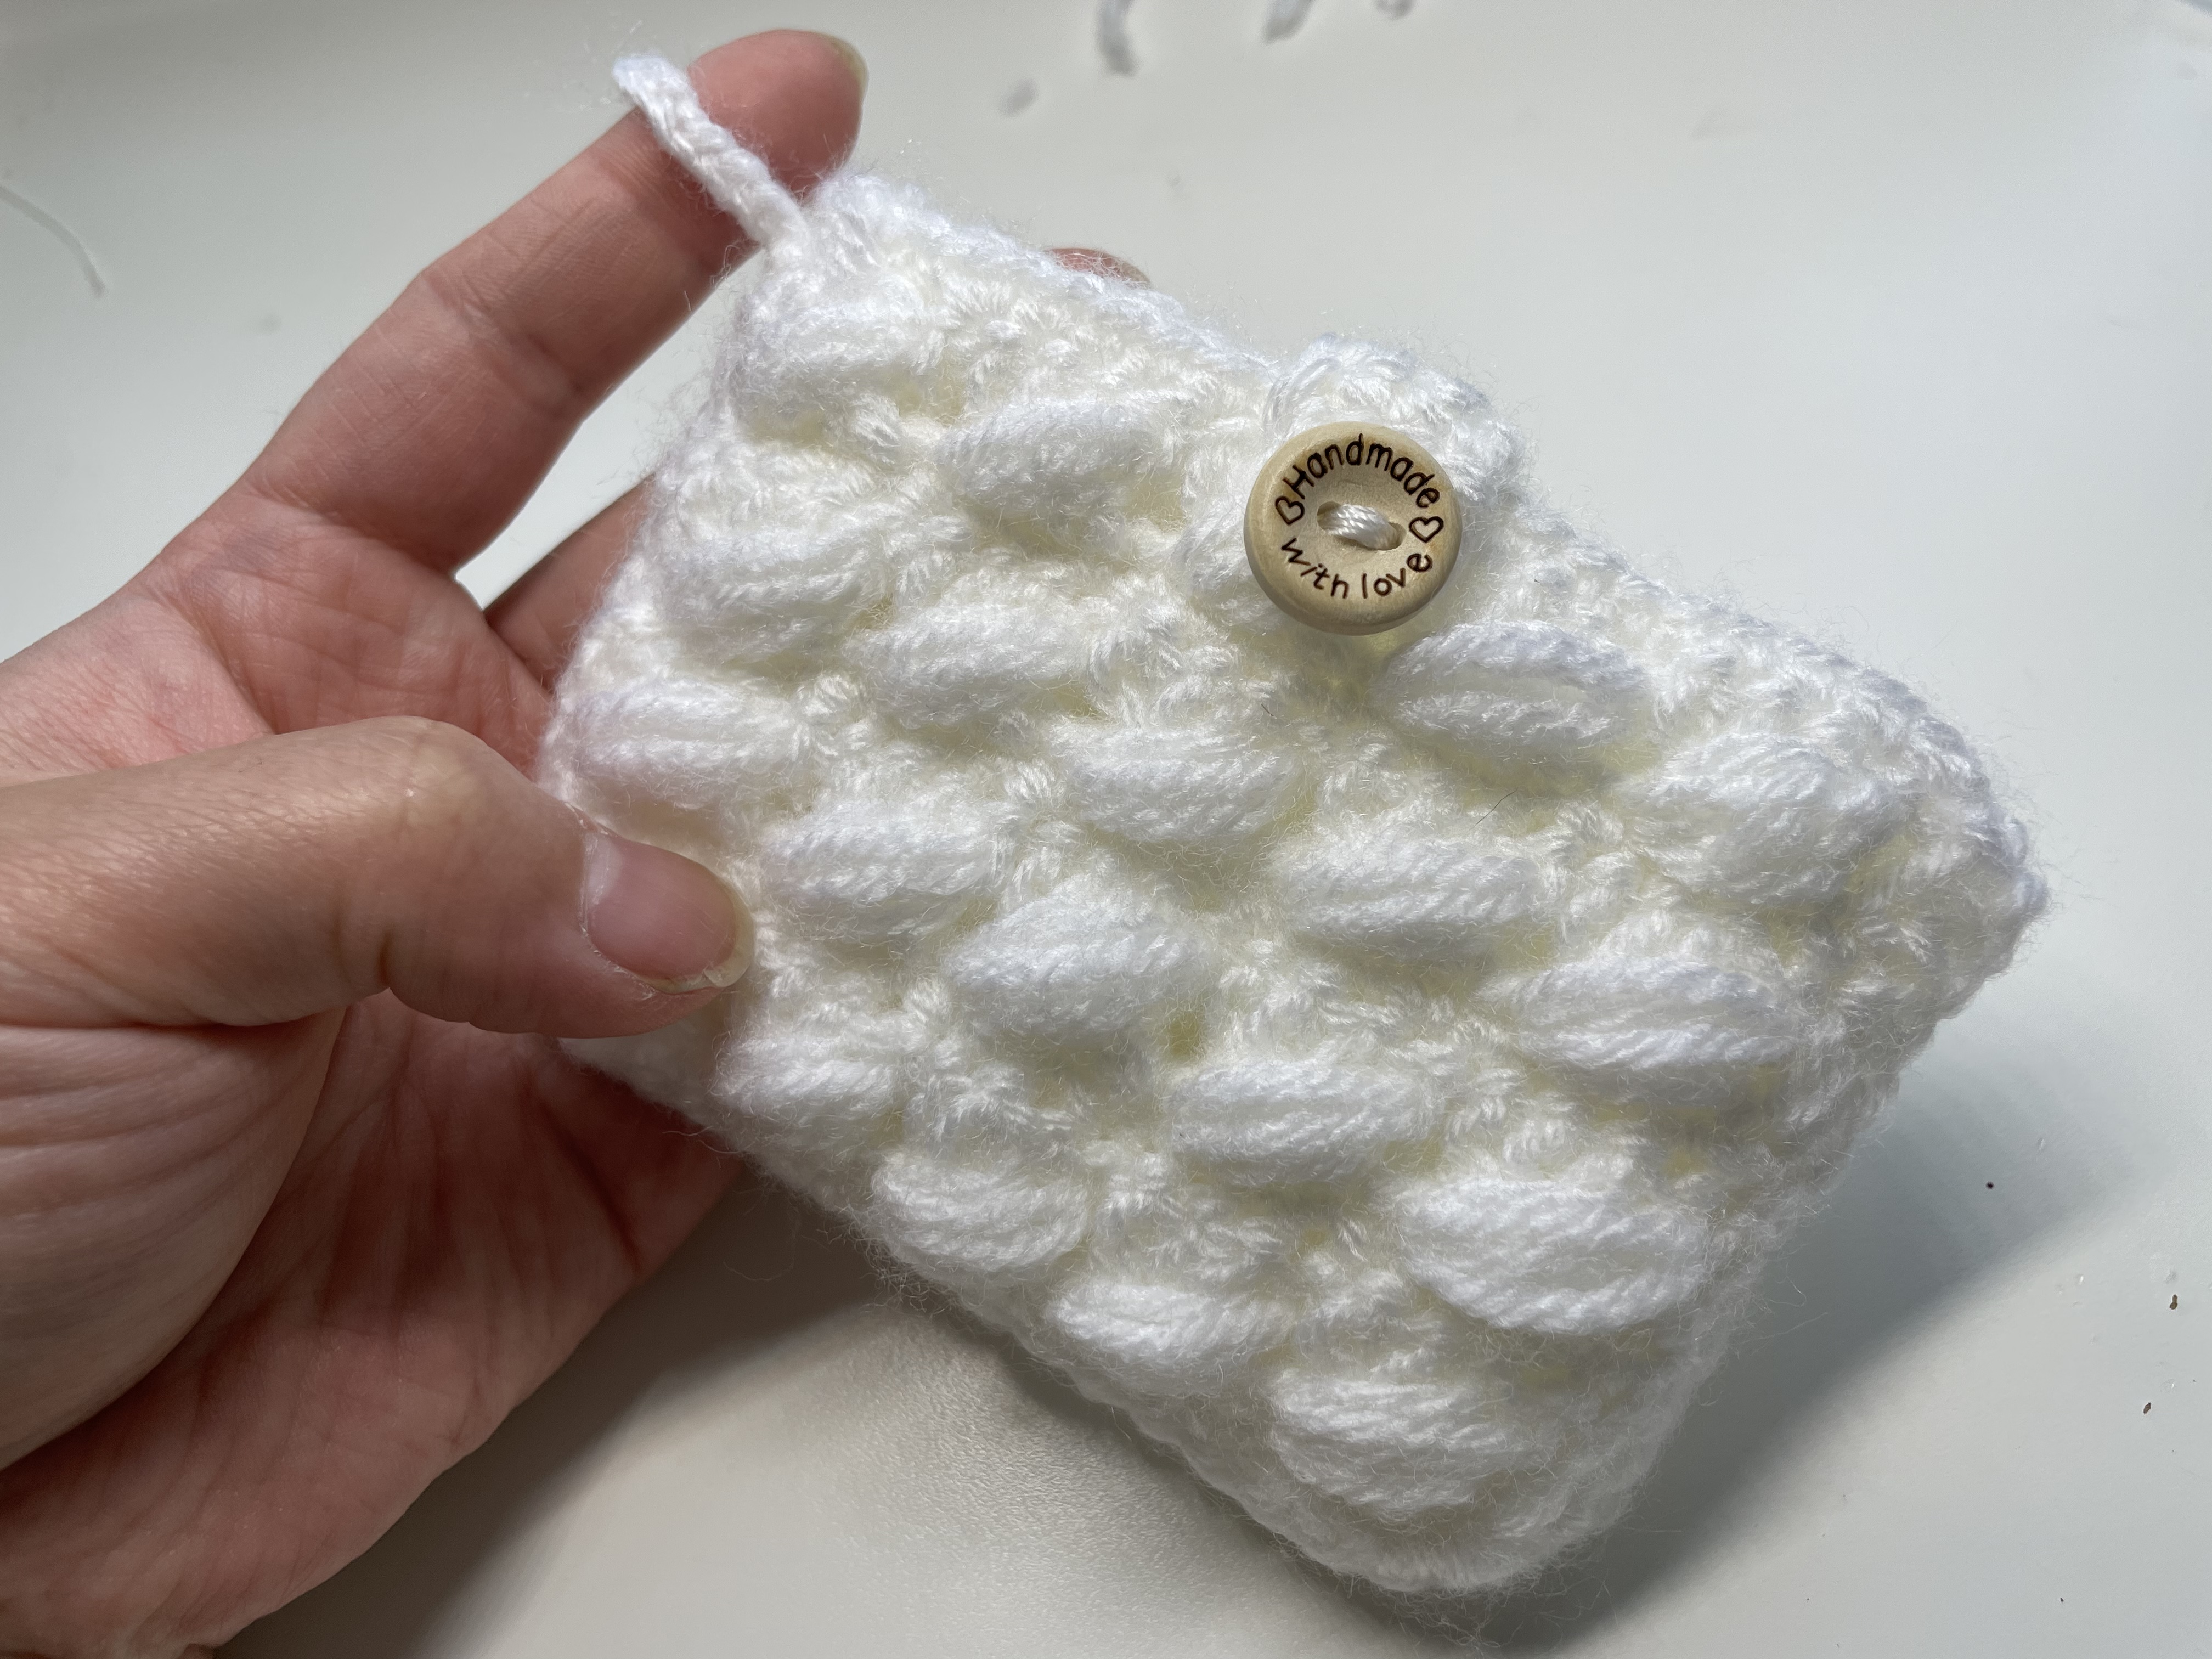
A small card holder is a useful place to try a new stitch. You get enough repeats to see the texture develop, but the project remains compact. This version has raised diagonal groups across the surface, a narrow tab over the opening, and a button on the front.
The construction uses two separate panels joined along the sides and bottom. The tab is then worked at the middle of the opening. Understanding that order helps you keep the raised texture outside and position the button after you can test the filled pouch.
Prepare Your Materials
Choose yarn that shows the raised groups clearly, a suitable hook, scissors, a yarn needle, a sewing needle and thread for the button, and one button that works with the chain loop. Keep the actual cards you intend to carry beside you for fitting.
A smooth, solid-colored yarn makes the stitch placement easier to see. The white sample highlights the texture, but a medium solid shade can also work well. Fuzzy yarn may hide the skipped stitch you need to return to during the pattern repeat.
No universal finished size or card capacity is specified here. Yarn, hook, tension, and seam thickness determine the usable interior. Check your card stack against the panel and again after joining.
Understand the Textured Stitch
These instructions use US terms: ch means chain, sc means single crochet, dc means double crochet, and sl st means slip stitch.
The video calls the raised group a popcorn, but its text explicitly describes three unfinished double crochets. Use that demonstrated cluster construction rather than substituting a conventional popcorn made from completed stitches.
The repeat has a particular direction: skip a stitch, work three ordinary double crochets forward, then reach back into the skipped stitch for the raised group. That return creates the crossing effect.
For the cluster, work each double crochet only as far as its first pull-through-two, retaining the unfinished loops. After three unfinished double crochets have been built in the indicated skipped stitch, close the group together as shown. Keep the loops long enough to reach across without pulling the row sideways.
1. Make the First Panel
Row 1: The Foundation
Ch 22. Starting in the second chain from the hook, work 21 sc.
Count before turning. The skipped starting chain is not an extra working stitch. This foundation gives you a dependable width check for the return rows.
Row 2: The Raised Texture
The on-screen formula is:
Ch 3; repeat (skip 1, 3 dc, popcorn in the skipped stitch).
Work the three dc in the next three stitches after the skipped position, then reach back and make the three-unfinished-dc group described above. Continue across using the video's edge treatment.
Do not treat the turning chain as a new four-stitch repeat. The 21-stitch foundation accommodates five four-stitch sections plus the edge position; this is a calculated count check. Match the beginning and ending edges to the close-up.
Row 3: The Single-Crochet Return
Ch 1, turn, and work 21 sc.
Locate every stitch top around the raised groups and count before continuing. Missing a group top can narrow the panel even when the textured side still looks attractive.
Continue Through Row 8
Repeat Rows 2 and 3 until Row 8, as captioned:
| Row | Work | | --- | --- | | 1 | Foundation: 21 sc | | 2 | Raised texture row | | 3 | Ch 1, 21 sc | | 4 | Repeat texture row | | 5 | Ch 1, 21 sc | | 6 | Repeat texture row | | 7 | Ch 1, 21 sc | | 8 | Repeat texture row |
Follow the demonstrated turns so the raised features sit on the intended face. An additional ninth return row would change the panel described in the video.
2. Make a Matching Second Panel
Repeat the same eight-row construction. Compare the pieces without stretching, checking their width, height, and joining edges.
If one is larger, check the row count, the height of the raised groups, and the foundation tension. A seam should connect matching panels rather than force different pieces into shape.
Place your card stack against the panels. The joins will occupy space inside the pouch; if the unjoined panel is already too narrow, joining it will not create room.
3. Join Three Sides with Single Crochet
Arrange the panels so the textured faces will be outside. Align their corners and hold the edges with removable markers if helpful.
The tutorial joins three sides with single crochet: one side, the bottom, and the other side. Leave the top open. Work through corresponding edges of both panels, maintaining consistent tension around the lower corners.
A tight seam can shorten a side. After joining, slide in the cards and check that they pass the corners without catching. Conceal loose yarn inside firm stitches, away from the opening.
4. Crochet the Center Tab and Button Loop
Find the middle position along the opening edge shown in the video. Add 3 sc there to establish the narrow tab.
The captioned formula is:
(3 sc, turn) x 3; ch 6; sl st.
Work the short three-stitch rows with the demonstrated turns, then form the six-chain loop and anchor it with the shown slip stitch. Match the start and anchoring point to the close-up so the loop sits at the end of the tab rather than off to one side.
Test the actual button before completing the finishing. Yarn thickness and chain tension affect the opening: the six-chain loop is the pattern's starting point, rather than a guarantee that every button will fit.
5. Sew on the Button with the Holder Filled
Insert the card stack and fold the tab over naturally. Mark where the loop reaches without stretching. This gives a better position check than fitting an empty, flattened pouch.
Sew the button through the front panel only, checking inside so you do not accidentally sew the pouch shut. Spread the attachment through firm fabric instead of relying on one loose decorative loop.
Open and close the holder several times. The button should pass through with gentle pressure, remain in place when closed, and allow the tab to lie without pulling the front upward.
Optional Corner Loop and Everyday Checks
The example also has a loop near an upper corner. If you add it, follow the demonstrated attachment and test it gently with the holder filled. No fixed chain count for that optional loop is specified here.
Insert and withdraw the full card stack, fasten the button, and turn the closed holder over above a table. Check the opening and side gaps. A card pouch is not automatically suitable for coins, which can escape through smaller spaces.
If the cards require force, reduce the contents or revisit the size. Repeated stretching can flatten the texture and strain the joins. If the button slips out, adjust the button-and-loop fit rather than tightening the entire tab across the pouch.
Finish and Care
Conceal the remaining ends in secure areas without drawing the raised stitches flat. Check the button thread occasionally and repair a loose attachment early.
Take out the cards before cleaning and follow the care instructions for the yarn and button. Support the pouch as it dries, reshape the opening, and gently restore the texture with your fingers.
Watch the Textured Card Holder Tutorial
Use the close-up for reaching back into the skipped stitch, treating the row edges, joining the panels, and anchoring the tab loop.
Once the fit and closure work together, this project becomes more than a stitch sample. The raised pattern provides the decoration, while matched panels, comfortable seams, and a well-positioned button make the holder useful every day.
Watch every stitch up close
Pair these written notes with the complete video tutorial.
Made with yarn, shared with love. 🧶💗