
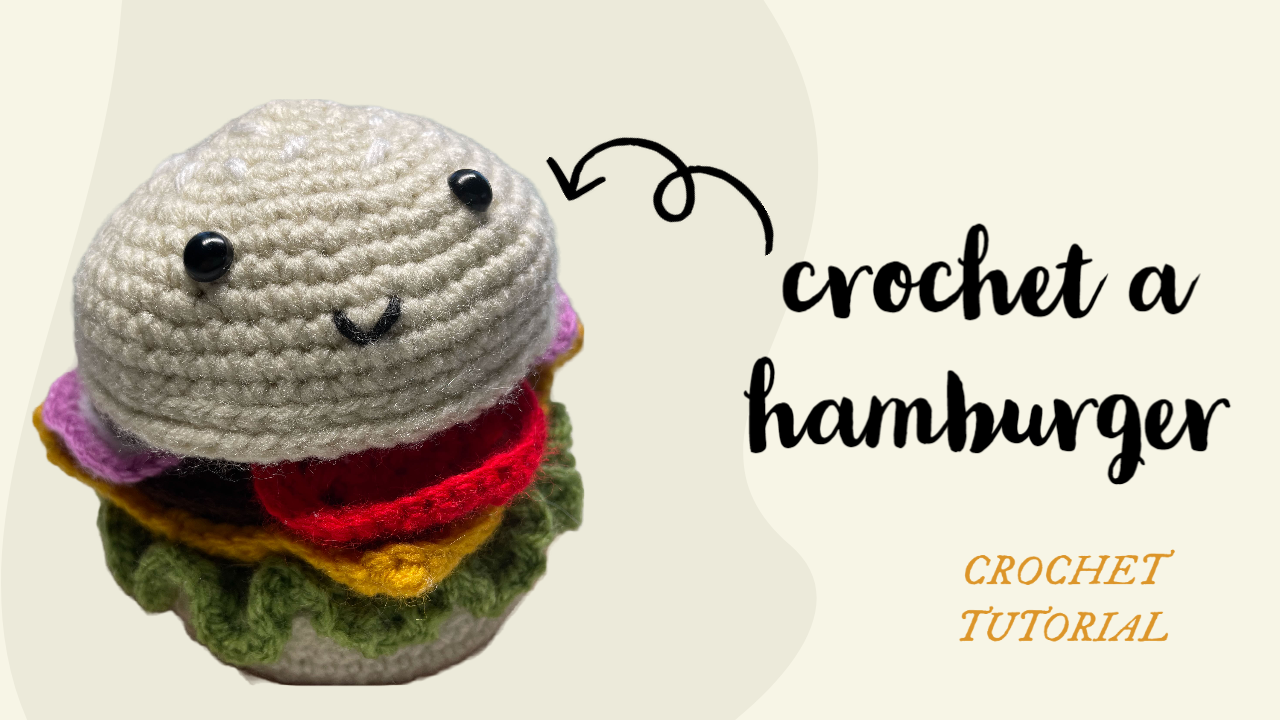
Crochet a Smiling Hamburger Amigurumi with Removable Layers
A crocheted hamburger is especially fun when you can take it apart. Lift the smiling bun and you will find contrasting layers: a brown patty, a green frill of lettuce, yellow cheese corners, red tomato slices, and a purple-edged onion ring. The original tutorial finishes the pieces with hook-and-loop fasteners so they can be stacked and rearranged.
The project combines several useful techniques in one piece. You will practice increasing a circle, adding straight rounds for depth, turning a circle into a square, and deliberately overcrowding an edge to make a ruffle. Work through the components separately before assembling the burger; this makes counting easier and keeps the different shapes clear.
Before you begin
Prepare cream, brown, green, yellow, red, white, and purple yarn; a crochet hook suited to your yarn; a yarn needle; scissors; stitch markers; filling for the buns; and small hook-and-loop fasteners. The sample also has dark eyes and an embroidered smile. Choose an eye treatment appropriate to the intended recipient and attach any backed eyes while the inside remains accessible.
Keep the yarn thickness consistent across the ingredients. The pattern depends on the pieces fitting a shared bun diameter, so a much thicker lettuce yarn or much finer cheese yarn can change the proportions. The video does not establish a gauge or finished measurement here; check the pieces against one another rather than assuming a fixed size.
These notes use US crochet terminology. `ch` means chain, `sl st` slip stitch, `sc` single crochet, `hdc` half double crochet, and `dc` double crochet. An `inc` is two single crochets in one stitch. Brackets indicate stitches worked into the same base stitch. Parentheses followed by a repeat number indicate a sequence repeated around the piece.
The captioned circles are joined rounds. Make the starting chain where specified, and slip stitch to close the round. Keep the joining slip stitch and lifting chain separate from the working stitch count.
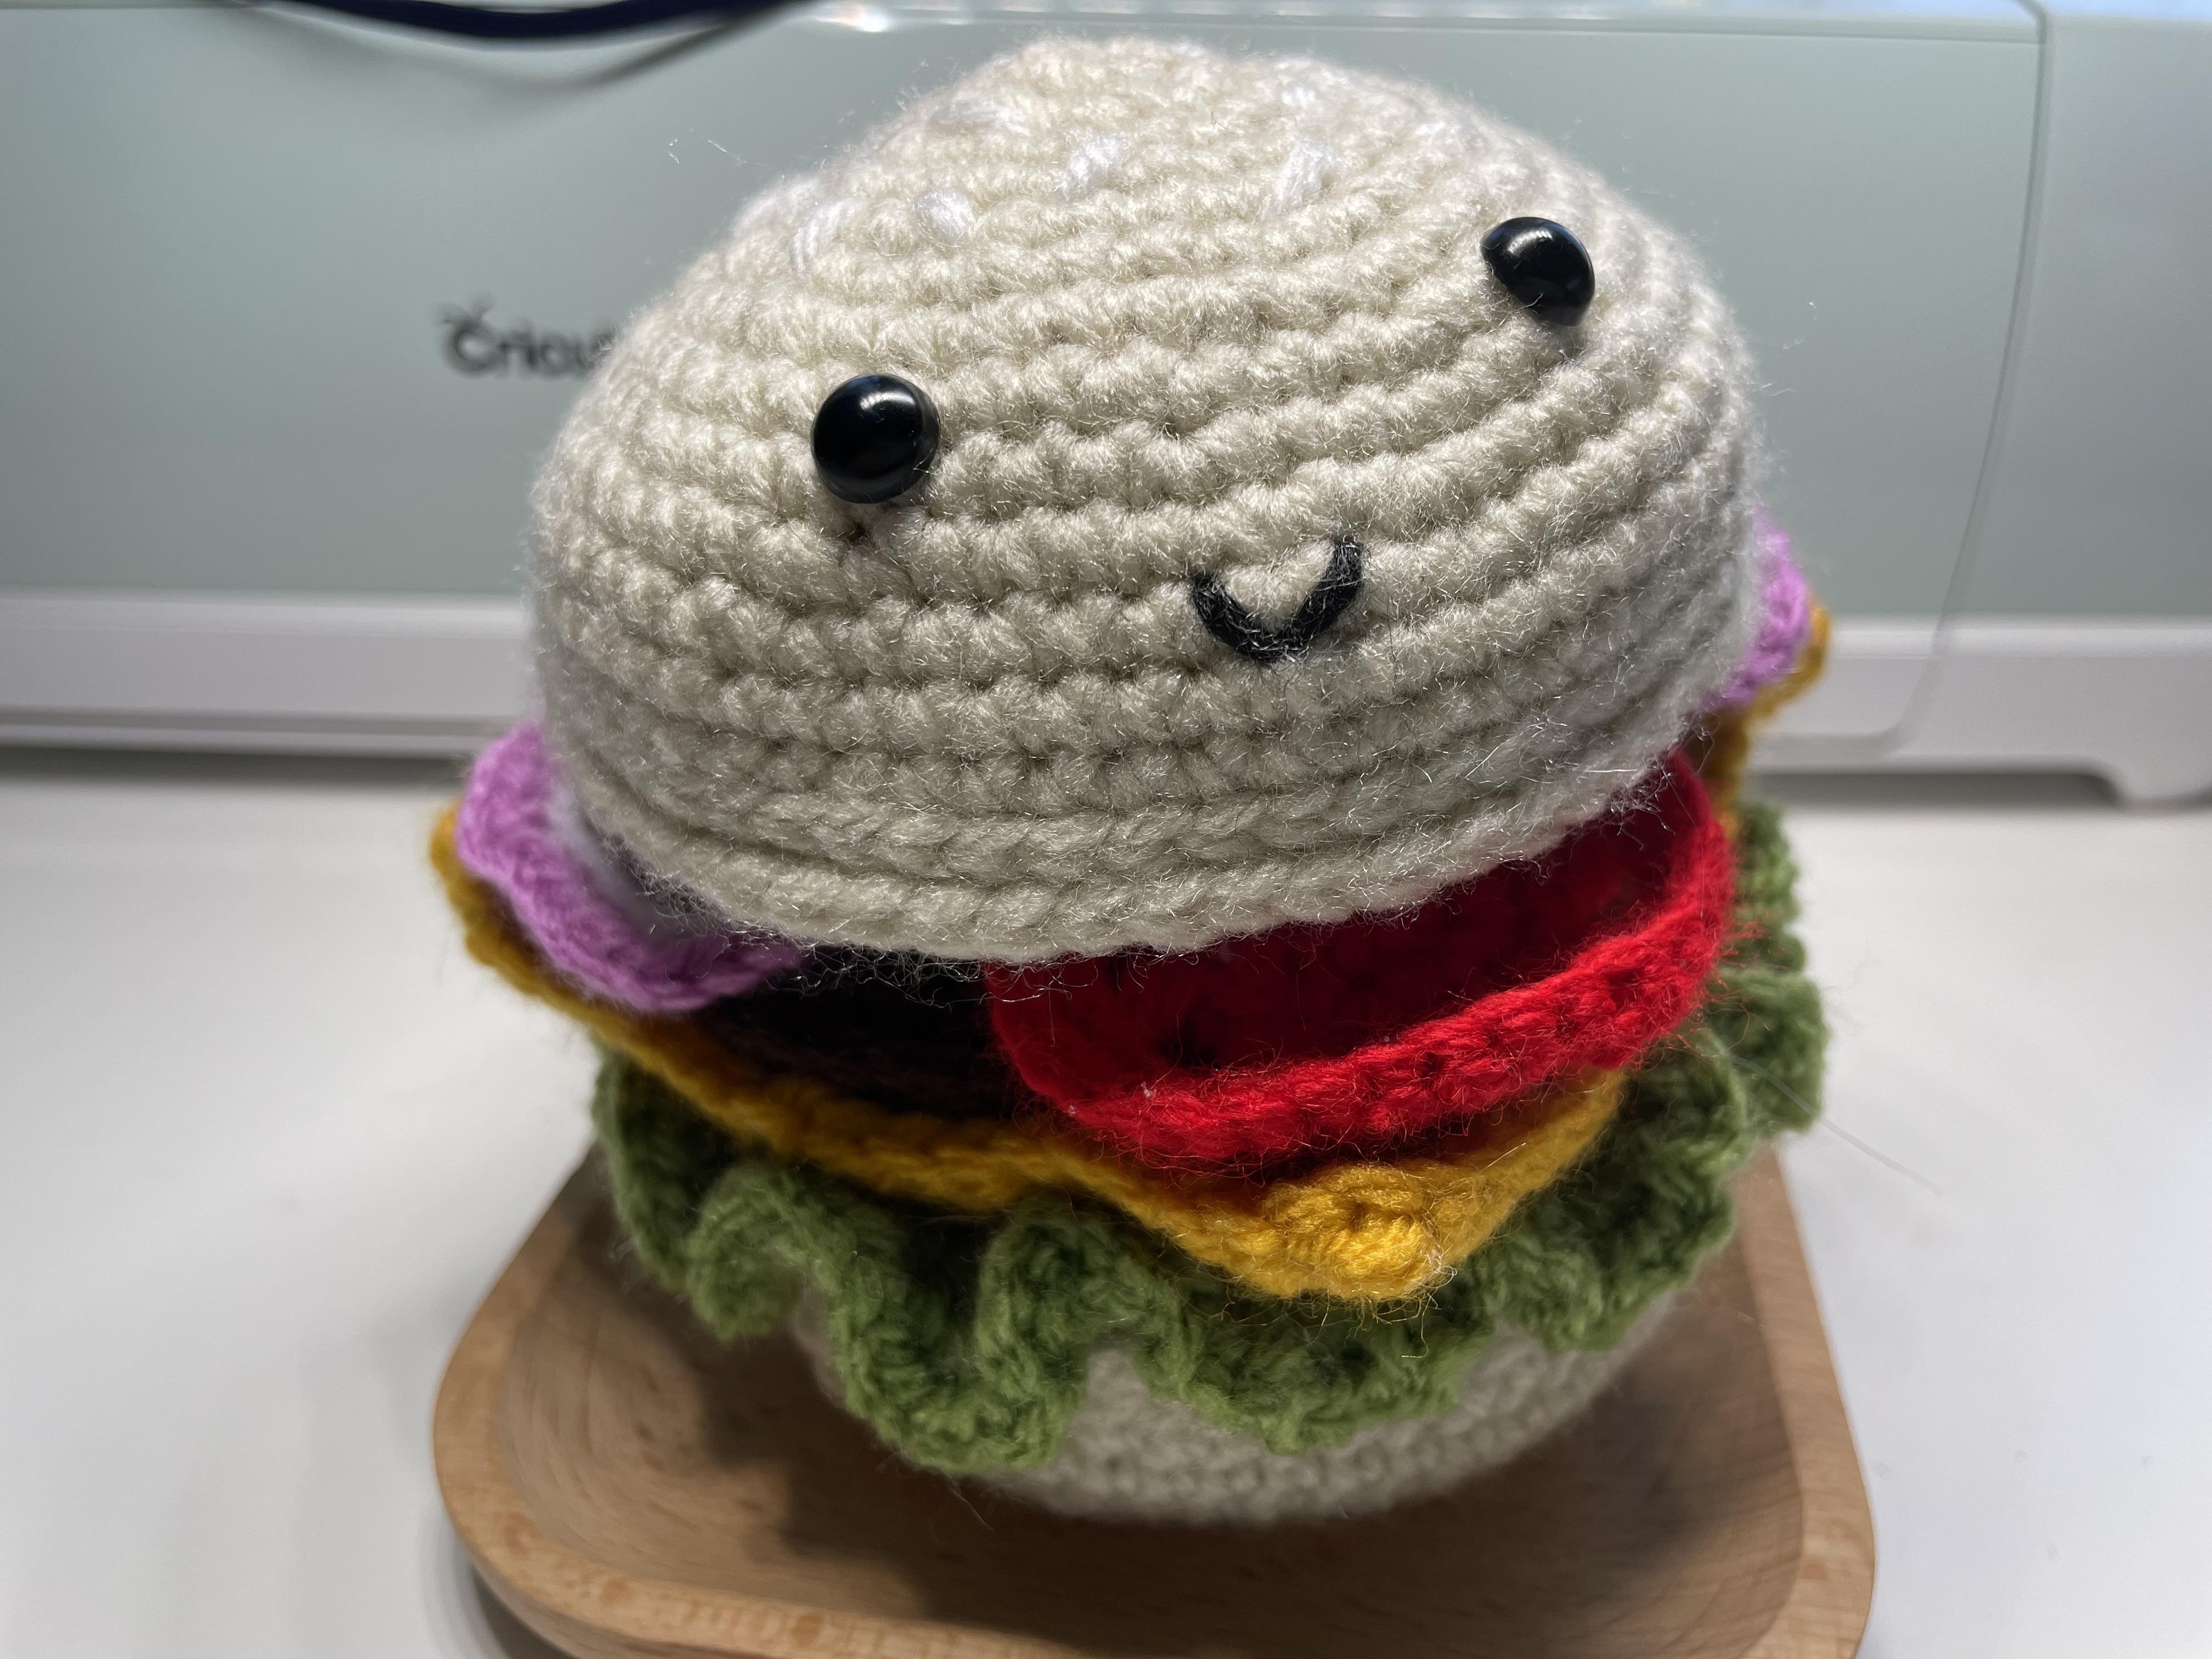
- Make the basic bun circle
The bun, patty, and lettuce share the same increasing circle through Round 10. The placement of the increases alternates, helping distribute them around the fabric.
| Round | Instructions | Working stitches | | --- | --- | ---: | | 1 | Work 6 sc into a magic ring; join. | 6 | | 2 | Ch 1; inc 6 times; join. | 12 | | 3 | Ch 1; (inc, sc) 6 times; join. | 18 | | 4 | Ch 1; (sc, inc, sc) 6 times; join. | 24 | | 5 | Ch 1; (inc, 3 sc) 6 times; join. | 30 | | 6 | Ch 1; (2 sc, inc, 2 sc) 6 times; join. | 36 | | 7 | Ch 1; (inc, 5 sc) 6 times; join. | 42 | | 8 | Ch 1; (3 sc, inc, 3 sc) 6 times; join. | 48 | | 9 | Ch 1; (inc, 7 sc) 6 times; join. | 54 | | 10 | Ch 1; (4 sc, inc, 4 sc) 6 times; join. | 60 |
For the deeper bun panel, continue with 60 sc in each of Rounds 11 and 12, joining each round. The accompanying flat panel follows Rounds 1–10. Pair the flat and deeper panels as demonstrated, with the intended outside surfaces facing out.
The video joins the matching edges with 60 single crochets through both panels. Match one stitch on each edge at a time. Add filling before closing the remaining opening, distributing it toward the perimeter as well as the center. The flatter inner panel should remain a usable surface for attaching the removable ingredients.
Position the eyes and smile before permanently closing the face-bearing bun. Check the expression from the front while holding the bun in its finished orientation. Do not use a very tight embroidery strand to pull the mouth into a deep groove.
2. Crochet the brown patty
In brown, follow the basic circle through Round 10. The video explicitly refers back to the bun's Rounds 1–10, giving a 60-stitch outer round. Keep this ingredient broad enough to remain visible beneath the cream bun.
Lay it against the bun before fastening off all remaining tails. A small amount of natural fabric movement is normal, but a sharply cupped circle or a strongly waved edge calls for a recount. There should be six increases in every increasing round.
3. Shape the yellow cheese
The cheese begins as a small circle and develops four corners. In each corner, work [sc, hdc, sc] into one stitch. The half double crochet sits at the corner's highest point.
| Round | Instructions | Working stitches | | --- | --- | ---: | | 1 | 6 sc in a magic ring; join. | 6 | | 2 | Ch 1; inc 6 times; join. | 12 | | 3 | Ch 1; (sc, [sc, hdc, sc], sc) 4 times; join. | 20 | | 4 | Ch 1; (2 sc, [sc, hdc, sc], 2 sc) 4 times; join. | 28 | | 5 | Ch 1; (3 sc, [sc, hdc, sc], 3 sc) 4 times; join. | 36 | | 6 | Ch 1; (4 sc, [sc, hdc, sc], 4 sc) 4 times; join. | 44 |
Each round after Round 2 adds eight stitches: two extra stitches at each of four corners. Mark the center stitch of each corner if you find it difficult to locate on the next round. Let the corners project beyond the round ingredients when stacking the burger.
4. Add the ruffled lettuce
In green, work the basic circle through Round 10, ending with 60 stitches. For Round 11, chain 1 and work 3 sc into every stitch around, then join. This produces 180 sc.
That large increase is intentional. It crowds the edge so the lettuce folds into waves. Do not flatten the ruffle by stretching it into a larger disk. Gently arrange the folds around the circle, keeping the center available for a fastener.
If only one part ruffles strongly, check whether you accidentally switched to one stitch per base stitch elsewhere. The full outer round uses three stitches in each of the 60 positions.
5. Make two tomato slices
The tomato construction differs from the six-stitch bun circle. Use red yarn and make two matching pieces.
- Round 1: Work 9 sc into a magic ring and join.
- Round 2: Ch 1; increase in all 9 stitches; join. You now have 18 sc.
- Round 3: The caption reads: `ch 3, dc, (ch 4, skip, 2 dc) × 5, ch 4, sl st`. Follow the video for the placement of the paired double crochets and skipped base stitches. The opening chain and first dc establish the first pair; the chain spaces create the open sections of the slice.
- Round 4: Work the captioned 36 dc around and join. Use the demonstrated placement across the previous stitches and chain sections.
Do not substitute the bun's 60-stitch circle for these slices. Their open structure and smaller outer round are part of the contrast between the ingredients. Lay the two finished slices beside each other to check that their centers and outer edges match.
6. Crochet the onion ring
The onion has an open center, a white inner section, and a purple outer edge. The video gives the following captions:
| Stage | Captioned instruction | | --- | --- | | Foundation | Ch 32; join with a slip stitch. | | White round | (Inc, 4 sc) 6 times; join. | | Purple edge | Change to purple; sc around; join. |
A source-count detail needs care: six repeats of `(inc, 4 sc)` use 30 base positions, while the foundation caption says 32 chains. The captions alone do not explain the treatment of the other two chains. Retain the foundation shown in the video and check its starting/joining placement before completing this ring. Do not assume that all 32 chains receive the same written repeat, or silently replace the foundation with 30 chains.
Keep the chain untwisted when joining. Work the purple edging without pulling it tight enough to shrink the ring's opening.
7. Assemble a burger you can take apart
Finish and secure the ingredient tails before attaching the fasteners. First stack the pieces without attachments and decide where each ingredient should show. The lettuce can extend in soft folds, while the cheese corners and tomato edges add small blocks of color between the round layers.
The video uses small hook-and-loop strips or patches on the contact surfaces. Place the matching halves so adjacent ingredients connect in the intended orientation. Check their positions with the burger stacked before securing them using a method suitable for the chosen fastener and crochet fabric.
Keep the joining system clear of the lettuce's ruffled rim and the cheese corners. The purpose is to hold the central stack together while allowing the ingredients to lift apart. Secure the patches firmly enough that separating them does not pull individual crochet stitches out of shape.
Useful checks before finishing
A bun looks pointed or angular: recount the six increase groups and check that you have followed the alternating placements. Additional filling will not repair a missed increase.
The bun join puckers: compare both 60-stitch edges and check for an accidentally included joining slip stitch. Join corresponding working stitches without gathering one edge.
The cheese twists at a corner: make sure all three corner stitches share one base stitch. Spreading them over separate base stitches changes both the shape and the count.
The layers slide despite the fasteners: check whether the matching patches actually meet when the burger is stacked. Move the attachment position before adding a larger patch that might stiffen the ingredient.
Watch the complete tutorial
Use the close-up demonstration for the bun joining, tomato stitch placement, onion foundation, and removable assembly. The written counts above are checked against the displayed instructions; the onion foundation ambiguity is identified rather than presented as a tested correction.
A small project with several useful shapes
The finished burger brings together a rounded shell, flat circles, a square, an open ring, and a deliberately ruffled edge. Those changes in construction give each ingredient its own identity. Take time over the shared circle counts and the final attachment positions, and the smiling burger will remain recognizable both as a complete stack and as a collection of separate crocheted ingredients.
Watch every stitch up close
Pair these written notes with the complete video tutorial.
Made with yarn, shared with love. 🧶💗