
Crochet a Palm-Sized Amigurumi with Curly Hair and Round Ears
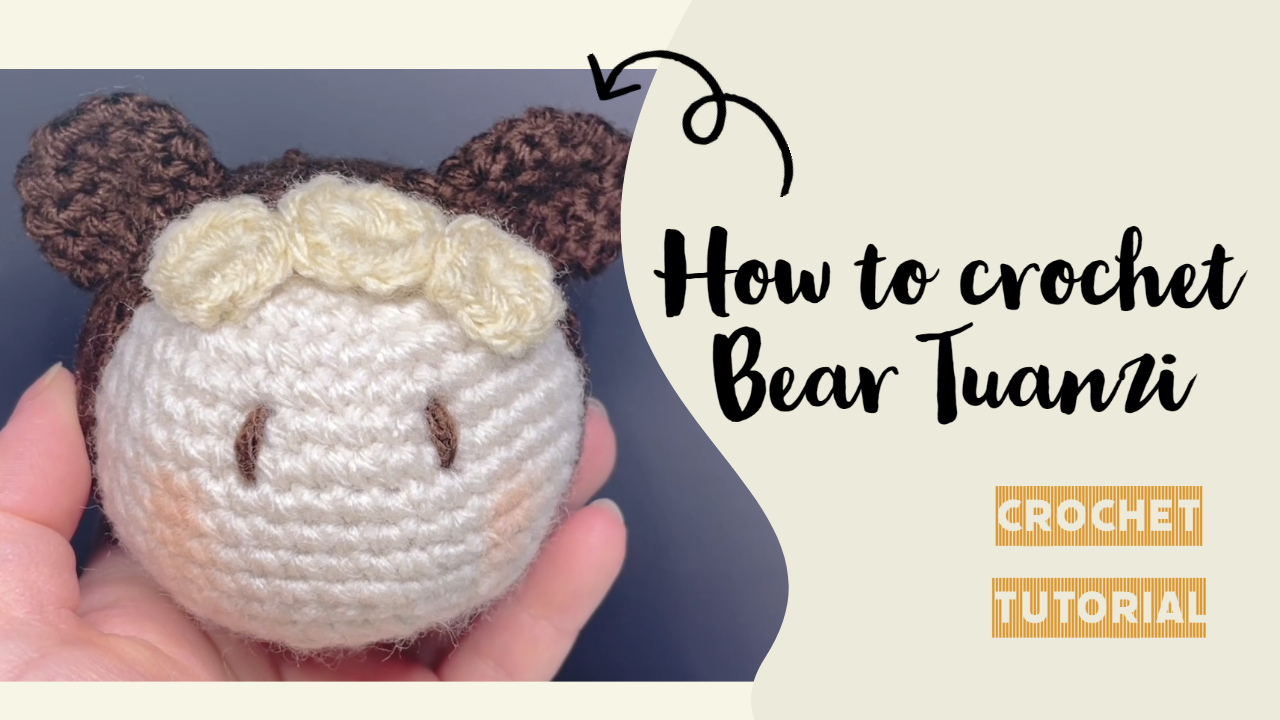
A cream face, two brown ears, and three pale curls give this little crochet character a gentle expression. Its rounded shape keeps the construction simple, while the contrasting outer shell creates a frame around the face.
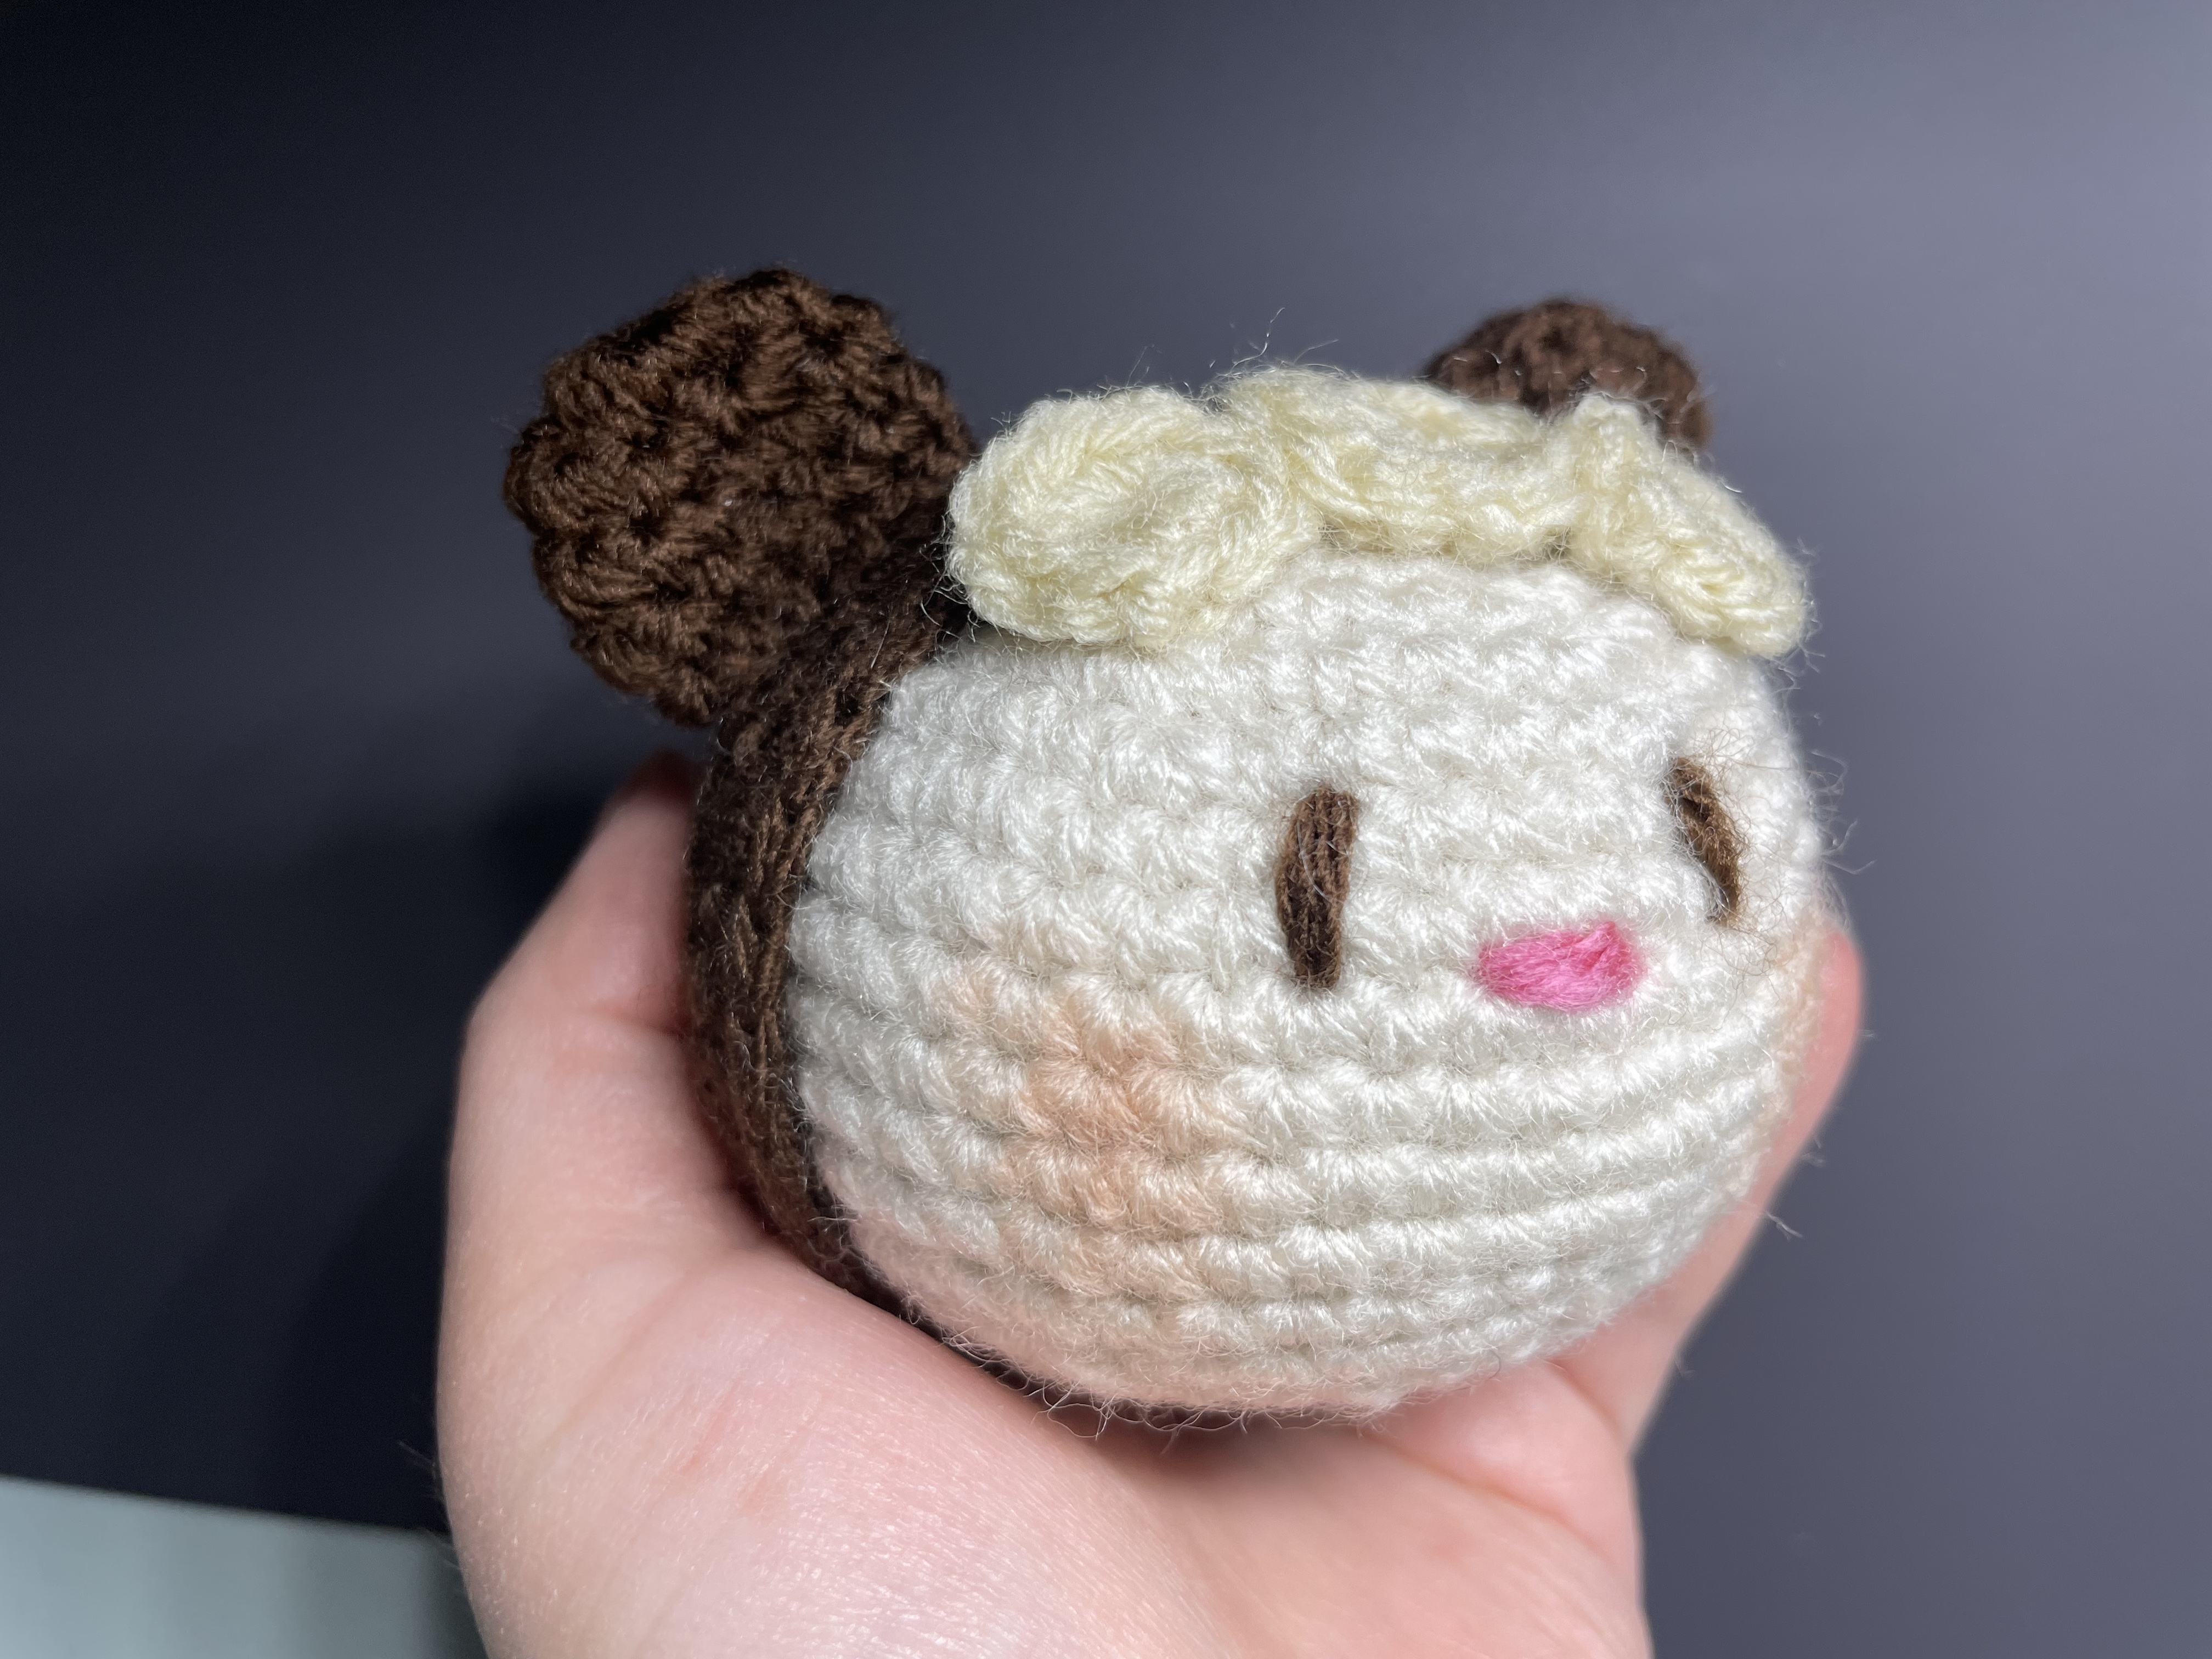
The character is made from a stuffed cream ball fitted into a separate brown cover. Two small ears attach to the brown section, and three circular crochet pieces form the curled fringe. Embroidered eyes and a pink nose complete the face.
This project offers practice with increases, decreases, joined rounds, and small-piece assembly. The instructions below follow the video’s on-screen pattern, with stitch totals added to make counting easier.
Materials
Prepare:
- Cream yarn for the main stuffed shape.
- Brown yarn for the outer cover and ears.
- Pale yellow or light beige yarn for the fringe.
- Small amounts of brown and pink yarn for facial embroidery.
- A crochet hook suited to your yarn.
- Toy stuffing.
- A yarn needle and scissors.
- A removable stitch marker.
- Placement pins or contrasting scrap yarn.
Use yarns of similar thickness for the main pieces. A much thicker brown yarn can make the cover loose, while a thinner one may make it difficult to fit around the cream shape.
Choose a hook that produces a close fabric without making the stitches difficult to work. Finished size depends on your yarn, hook, and tension; a fixed gauge or finished measurement is not specified here.
Abbreviations and Pattern Notes
These instructions use US terminology.
Abbreviation Meaning
ch Chain
sc Single crochet
inc Work 2 single crochet stitches into one stitch
dec Single crochet 2 stitches together
sl st Slip stitch
R Round
(…) × 6 Repeat the enclosed sequence six times
The video uses joined rounds. After Round 1, begin each round with ch 1 and finish with a slip-stitch join, unless otherwise stated.
The beginning chain and joining slip stitch are not included in the stitch totals below. Mark the first single crochet so you do not accidentally work into the join.
1. Crochet the Cream Main Shape
Begin with cream yarn and a magic ring.
Increase the Base
Round Instructions Stitch count
1 6 sc into the magic ring; join 6
2 Inc in every stitch 12
3 (Sc, inc) × 6 18
4 (Sc, inc, sc) × 6 24
5 (3 sc, inc) × 6 30
6 (2 sc, inc, 2 sc) × 6 36
7 (5 sc, inc) × 6 42
Rounds 4 and 6 place stitches on both sides of each increase. Keep that order rather than moving all the increases into a straight column.
After Round 7, count all 42 stitches before continuing.
Build the Rounded Sides
**Rounds 8
3. Make Two Brown Ears
Each ear begins as a small circle and gains depth over two straight rounds.
Using brown yarn:
Round Instructions Stitch count
1 6 sc into a magic ring; join 6
2 Ch 1, inc × 6; join 12
3 Ch 1, 12 sc; join 12
4 Ch 1, 12 sc; join 12
Fasten off, leaving yarn for attachment.
Make a second matching ear. Gently flatten the small cupped shapes so each has a rounded upper edge and a base that can sit against the brown cover.
Compare both ears before sewing. If one appears larger, check its stitch count and tension before trying to compensate through placement.
4. Make the Three Forehead Curls
Although the finished fringe looks curled, its pieces begin as simple single-round circles.
Use pale yellow or light beige yarn.
Two Small Pieces
For each small piece:
- Make a magic ring.
- Work 8 sc into the ring.
- Join with a slip stitch.
- Fasten off, leaving an attachment tail.
Make two.
One Large Piece
- Make a magic ring.
- Work 10 sc into the ring.
- Join with a slip stitch.
- Fasten off, leaving an attachment tail.
Make one.
Close the center rings neatly without pulling so hard that the circles become sharply folded. Their circular stitch pattern creates the visible curl effect when arranged across the forehead.
5. Arrange the Ears and Fringe
Position all five pieces temporarily before sewing any of them permanently.
Position the Ears
Place one ear on each upper side of the brown cover. Compare:
- The height of the ear bases.
- How far each ear extends beyond the main shape.
- The angle at which each ear faces forward.
- The amount of each ear hidden against the cover.
View the character straight on and from above. An ear positioned farther back can appear smaller even when both pieces have identical stitch counts.
Sew across each attachment base using several small stitches. Avoid tightening a single stitch so much that it pulls the ear into a narrow point.
Position the Fringe
Arrange the larger pale circle between the two smaller circles along the upper edge of the cream face.
Allow the pieces to sit close enough to read as one fringe while keeping their individual circular shapes visible. Check that they leave room beneath them for the eyes.
Attach with small stitches that blend into the pale yarn. Keep the visible surfaces rounded rather than sewing them flat under heavy tension.
The video mentions sewing or using glue. Sewing gives you more opportunity to adjust the position and keeps the attachment flexible.
6. Embroider the Face
The finished character uses narrow brown eyes and a small pink nose. Their restrained size leaves the cream face looking open and gentle.
Mark the Features First
Use contrasting scrap yarn to mark both eyes and the nose before embroidering.
Check the face with the ears and fringe already in place. The nose should sit beneath the midpoint between the eyes, and the eye positions should feel balanced within the exposed cream area.
Exact round-and-stitch coordinates are not specified here. Use the finished proportions as a guide rather than assuming that one fixed placement will suit every yarn and tension.
Stitch the Eyes
Work short brown embroidery stitches for the eyes. Lay the yarn against the surface gently.
If the face dimples around an eye, ease the embroidery tension before securing the end. Pulling harder will make the dent more pronounced.
Add the Pink Nose
Build the small nose gradually with short pink stitches. Check its position after the first few passes.
Keep the shape compact. Adding too many stitches through the same area can create a bulky patch or pull the nose away from the center.
The pictured version also has lightly colored cheeks. Treat these as an optional finishing detail and keep the color subtle enough that the eyes and nose remain clear.
Common Problems and Adjustments
Problem What to check
Stuffing shows between stitches Check fabric density and reduce excessive stuffing pressure.
The cream shape looks lumpy Redistribute small portions of filling before closing.
The brown cover fits poorly Recount both pieces and compare yarn thickness and tension.
The brown outline looks uneven Rotate and smooth the cover before changing its attachment.
One ear appears smaller Compare its angle and how much of its base is hidden.
The fringe covers the eyes Move the circles upward before securing them.
Embroidery dents the face Ease the yarn tension and use shorter, gentler stitches.
Final Finishing
Check the character from the front, back, and sides.
Secure the ear bases, fringe pieces, and embroidery ends. Remove every placement pin, marker, and scrap-yarn guide. Feel around the surface for loose tails or attachment stitches that need attention.
The main shape is rounded, so test its balance separately if you want to display it upright. A small dish or shallow display basket can support it without changing the crochet construction.
For cleaning, follow the care instructions for both the yarn and stuffing. Reshape the ears and fringe afterward and allow the character to dry completely.
Watch the Full Crochet Tutorial
Use the video to follow the joined rounds, fit the cream shape into its brown cover, and compare the ear and fringe placement before attaching the pieces.
A Small Character with an Expressive Face
This project builds its personality from a few simple shapes: one stuffed ball, a fitted cover, two rounded ears, and three little circles across the forehead.
Careful stuffing and patient placement make those pieces work together. Once the brown frame sits evenly and the embroidery is settled, the finished character becomes a cheerful little companion for a shelf, desk, or handmade gift.
Watch every stitch up close
Pair these written notes with the complete video tutorial.
Made with yarn, shared with love. 🧶💗