
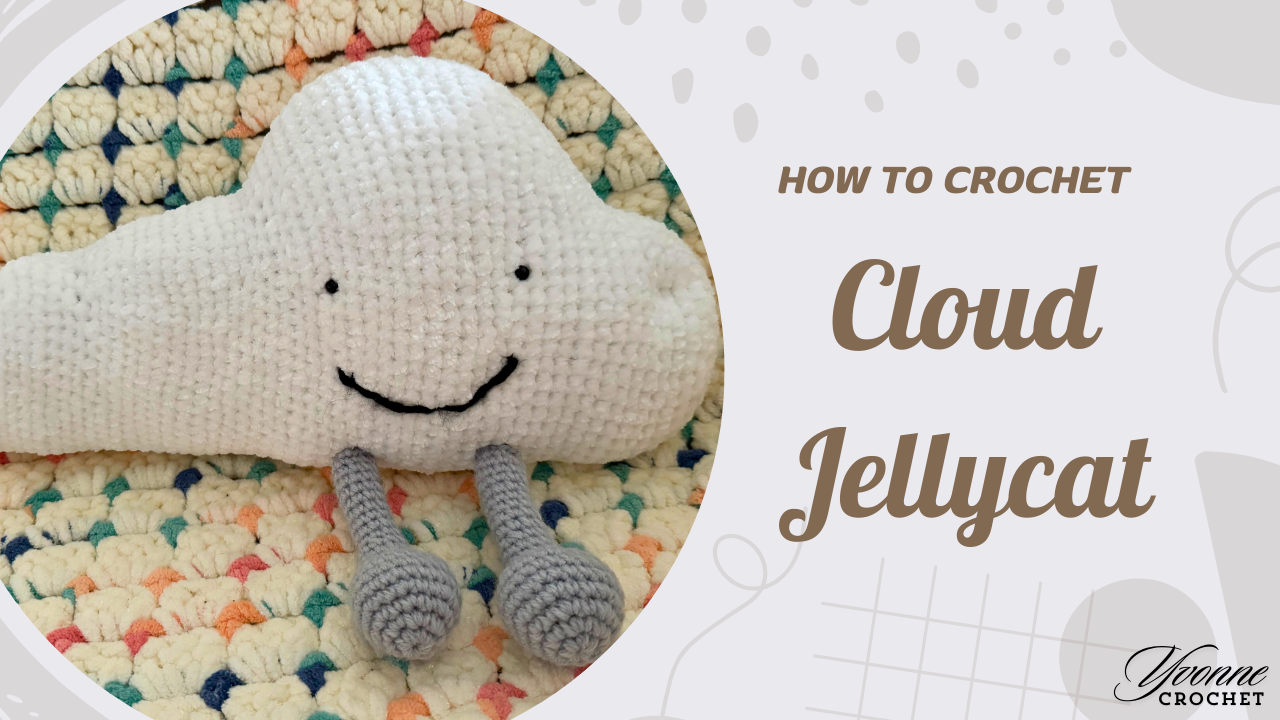
A Smiling Cloud with Dangling Legs
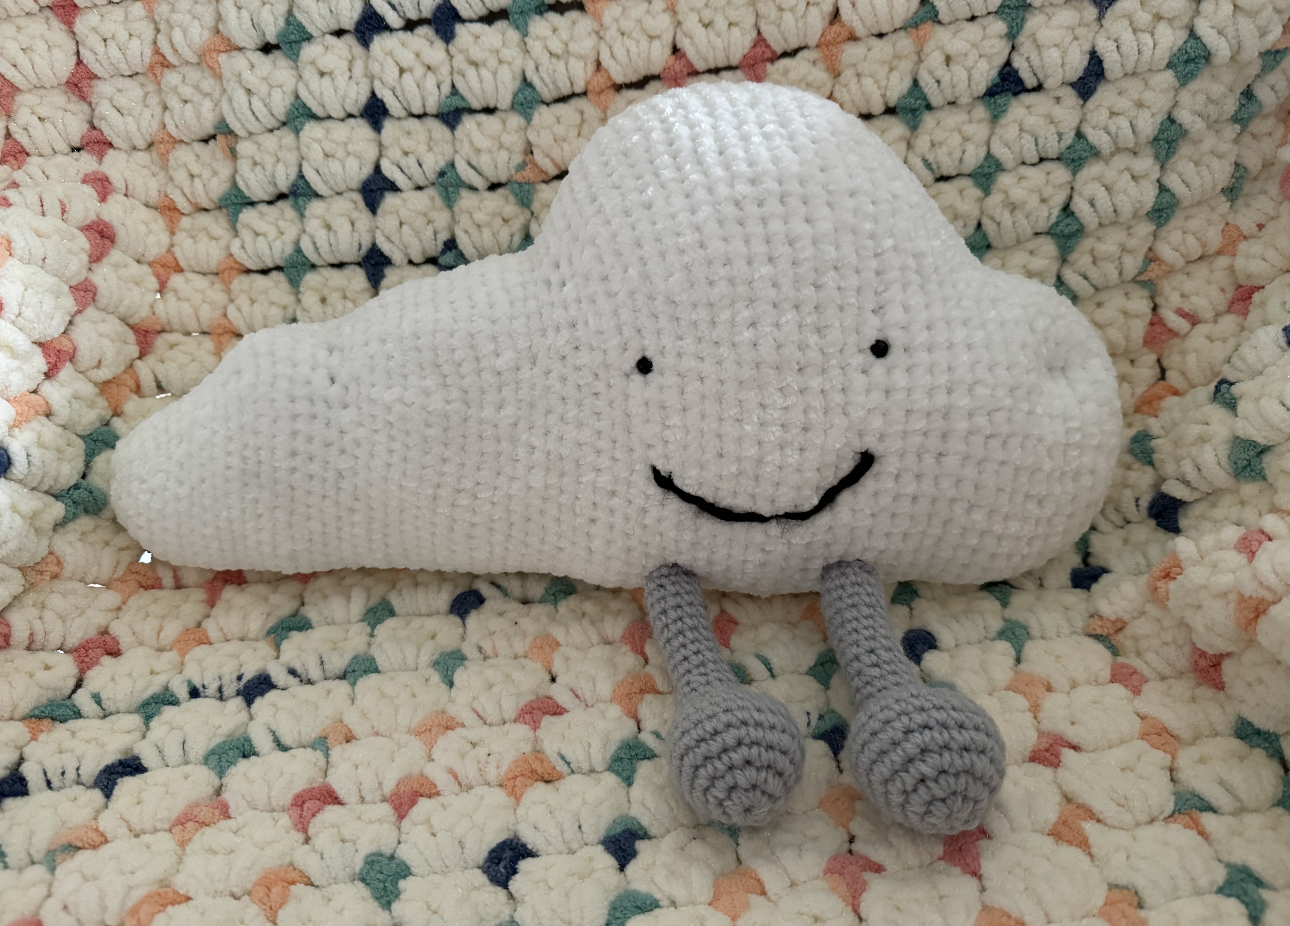
This crochet cloud has a broad white body, a raised central curve, and smaller rounded sections along its outline. Two dark eyes and a curved black smile give the front a cheerful expression.
A pair of gray legs hangs beneath the body, ending in rounded feet. Their narrower shape contrasts with the wide cloud and adds movement when the finished piece is lifted or displayed.
The sample is shown resting against a textured crochet blanket. Its simple colors keep the face and silhouette easy to see, even against a patterned background.
This is a Jellycat-inspired crochet project. Follow the video near the end for the construction demonstrated in this version; the notes below focus on shaping, filling, facial placement, and finishing.
Choose Yarn for the Size and Texture You Want
Your yarn and hook combination will affect both the cloud’s dimensions and the visibility of its stitches.
A smooth yarn makes the shaping easier to track. A plush yarn can create a softer surface, but its pile may hide stitch tops and make counting more demanding.
Prepare:
- White yarn for the cloud body.
- Gray yarn for the legs and feet.
- Black yarn for the stitched smile.
- A crochet hook suitable for the yarn.
- Toy stuffing, scissors, and a yarn needle.
- Stitch markers.
- Eye materials specified in the tutorial, or supplies for stitched features.
Check the video for the demonstration materials and eye attachment method. The finished photo does not establish an exact hook size, yarn quantity, or measurement.
Changing Size Takes Some Planning
Thicker yarn may produce a larger cloud, but it can also change the texture, weight, and firmness. Make a small sample before choosing materials for a cushion-sized version.
If you want to alter the pattern itself, preserve the relationships between the broad body, rounded sections, and legs. Adding stitches in one area alone may change the silhouette rather than simply enlarge it.
Track the Outline as It Develops
The cloud’s changing outline is its main shaping feature. Follow the tutorial’s instructions carefully where the curves rise, narrow, or meet.
Use markers to identify the round or section you are working on. Count at the shaping changes so a missed stitch does not carry through several more sections.
Inspect the work from the front occasionally. The curves do not need to look like identical circles, but each should contribute to the intended cloud shape.
If one area pulls inward unexpectedly, review its stitch placement before trying to stretch it into position.
Spread the Filling into the Curves
Add stuffing gradually and distribute it beyond the center. The outer rounded sections need support as well, or the cloud can develop a full middle with flattened edges.
Feel the body from several directions as you work. Check for hard lumps, empty areas, and uneven thickness.
Keep the filling light enough to preserve a soft surface while giving the outline definition. Excess stuffing can stretch the stitches apart and blur the transitions between curves.
Before completing the closure, look at the cloud from the front and side. Adjust the filling while access is still available.
Finish the Closure Without a Deep Dent
Follow the tutorial’s joining and closing method. Tighten gradually rather than pulling sharply on the final yarn.
The connection should hold securely without gathering a large section of the body into a crease. Hide the end neatly, then gently reshape the cloud and inspect the closure again.
Place the Face on the Shaped Body
The pictured face sits across the central area, with the smile below the eyes. Judge the placement against the filled shape rather than the unfinished crochet alone.
Temporarily mark the eye positions and the ends of the smile. Step back to check the expression before securing the details.
Follow the tutorial’s timing for adding eyes that require an internal attachment. Decide on that method before closing the relevant section.
Keep the Smile Relaxed
Work the curved mouth using the demonstrated technique. Avoid pulling the black yarn so tightly that it dents the white surface.
Check the curve in short sections. A slight adjustment to one end may balance the expression more effectively than adding more stitches.
Secure the embroidery ends inside the work and inspect the surface for loose loops.
Match the Gray Legs and Rounded Feet
Compare the two legs before attachment. Check their length, width, and the fullness of the feet.
Follow the tutorial for the filling and shaping of these pieces. Do not assume that the narrow legs and rounded feet need the same firmness throughout.
Position both legs beneath the cloud before sewing either one permanently. View them from the front and check that they hang comfortably rather than twisting across one another.
Spread the securing stitches across the intended connection. Avoid pulling the white body inward while attaching the gray pieces.
Watch the Cloud Crochet Tutorial
The video demonstrates the cloud project and its assembly. Follow it for the body shaping, facial details, legs, and finishing sequence.
Pause before the final closure to check the filling, then compare both leg positions before securing them.
Finish for Display or Gifting
Inspect the closure, facial attachments, embroidery, and leg seams. Weave in the remaining ends securely.
For gifting, use packaging that leaves room around the cloud’s curves and feet. Support the body when moving it rather than lifting it by a leg.
Follow the care requirements of the actual yarn, filling, and facial materials when cleaning. Allow the piece to dry fully before storing it.
The cloud’s expression comes from a few well-placed details. Even filling, clearly defined curves, and balanced gray legs help the finished plush retain its friendly appearance.
Watch every stitch up close
Pair these written notes with the complete video tutorial.
Made with yarn, shared with love. 🧶💗