
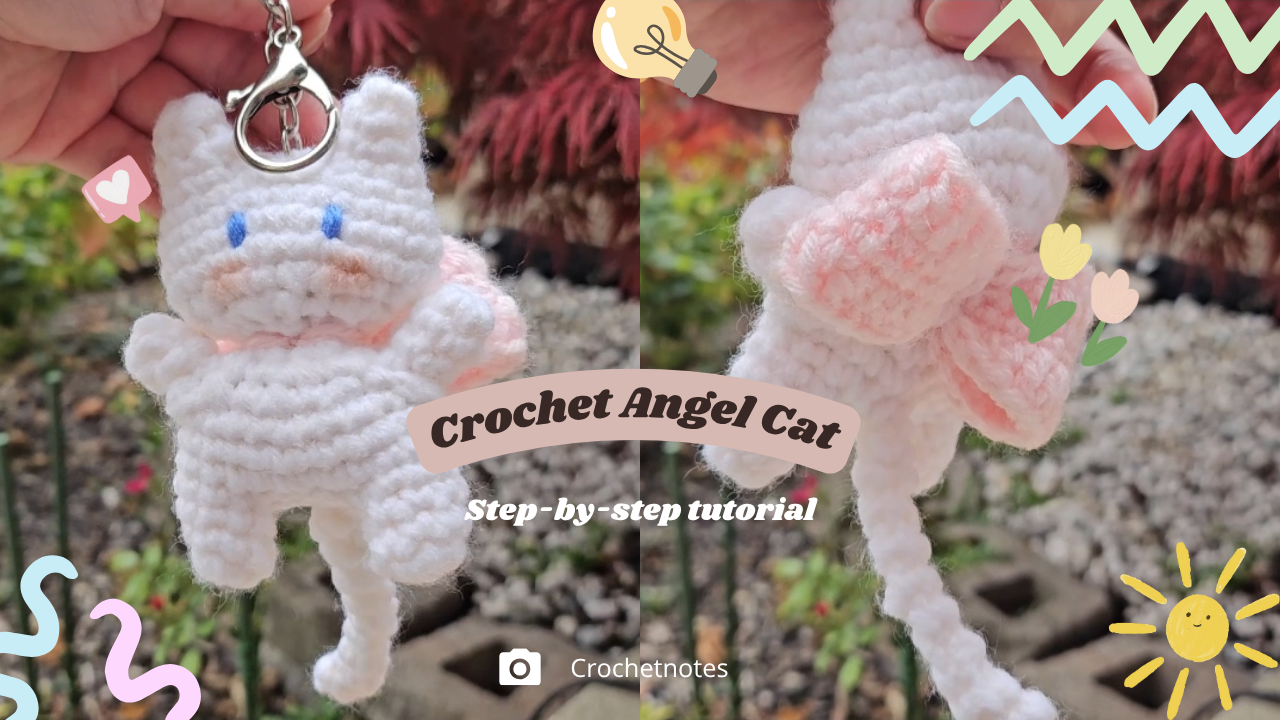
A White Cat with Blue Eyes and a Long Tail
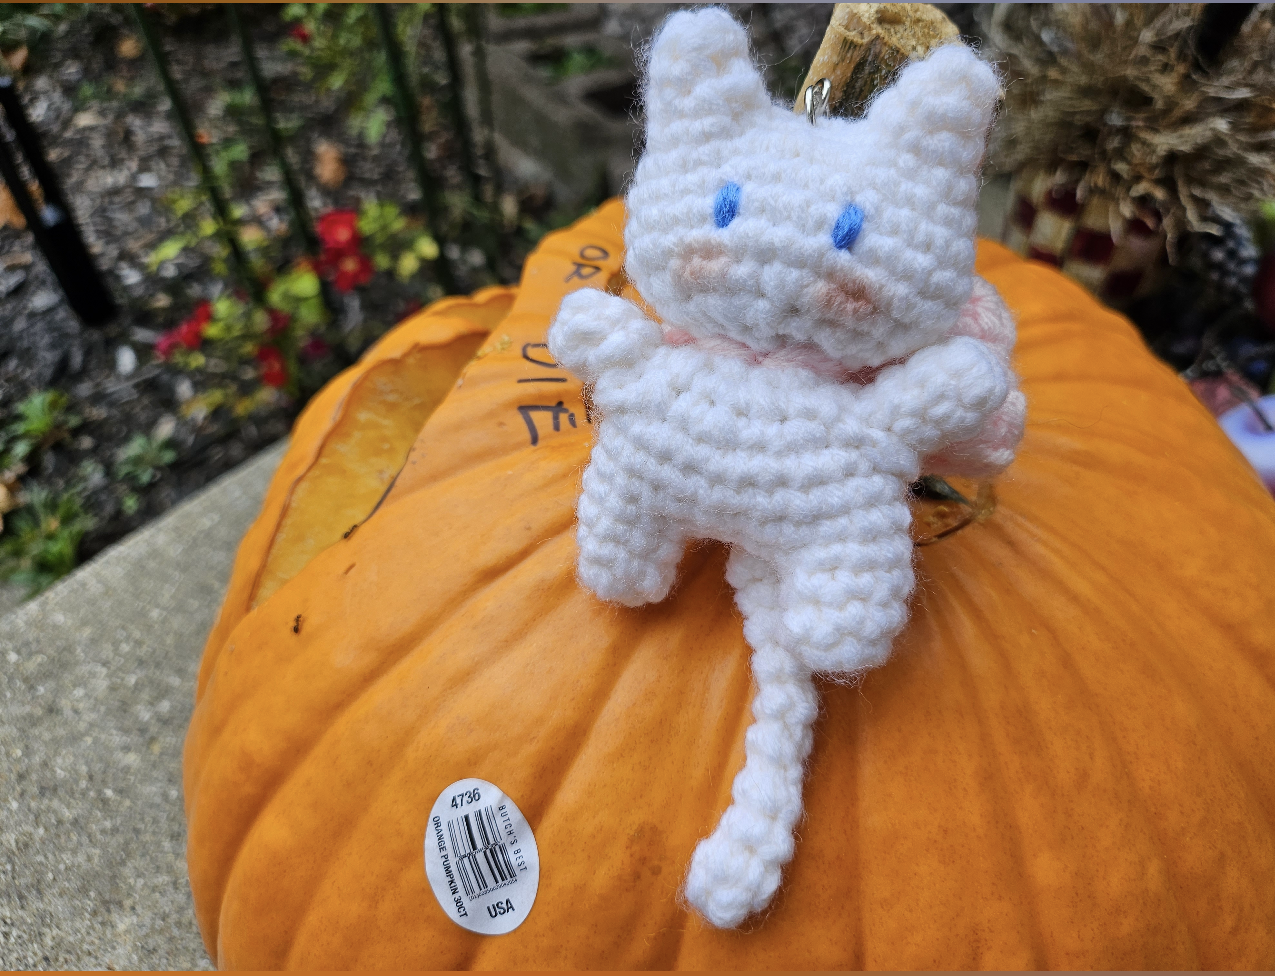
This crochet angel cat has a broad white head, tall pointed ears, and a compact body with short limbs. Blue stitched eyes give the face a simple expression, while soft peach cheek accents add warmth.
A long white tail extends below the body. Pink details sit behind the shoulders, adding contrast to the pale yarn without dominating the front view.
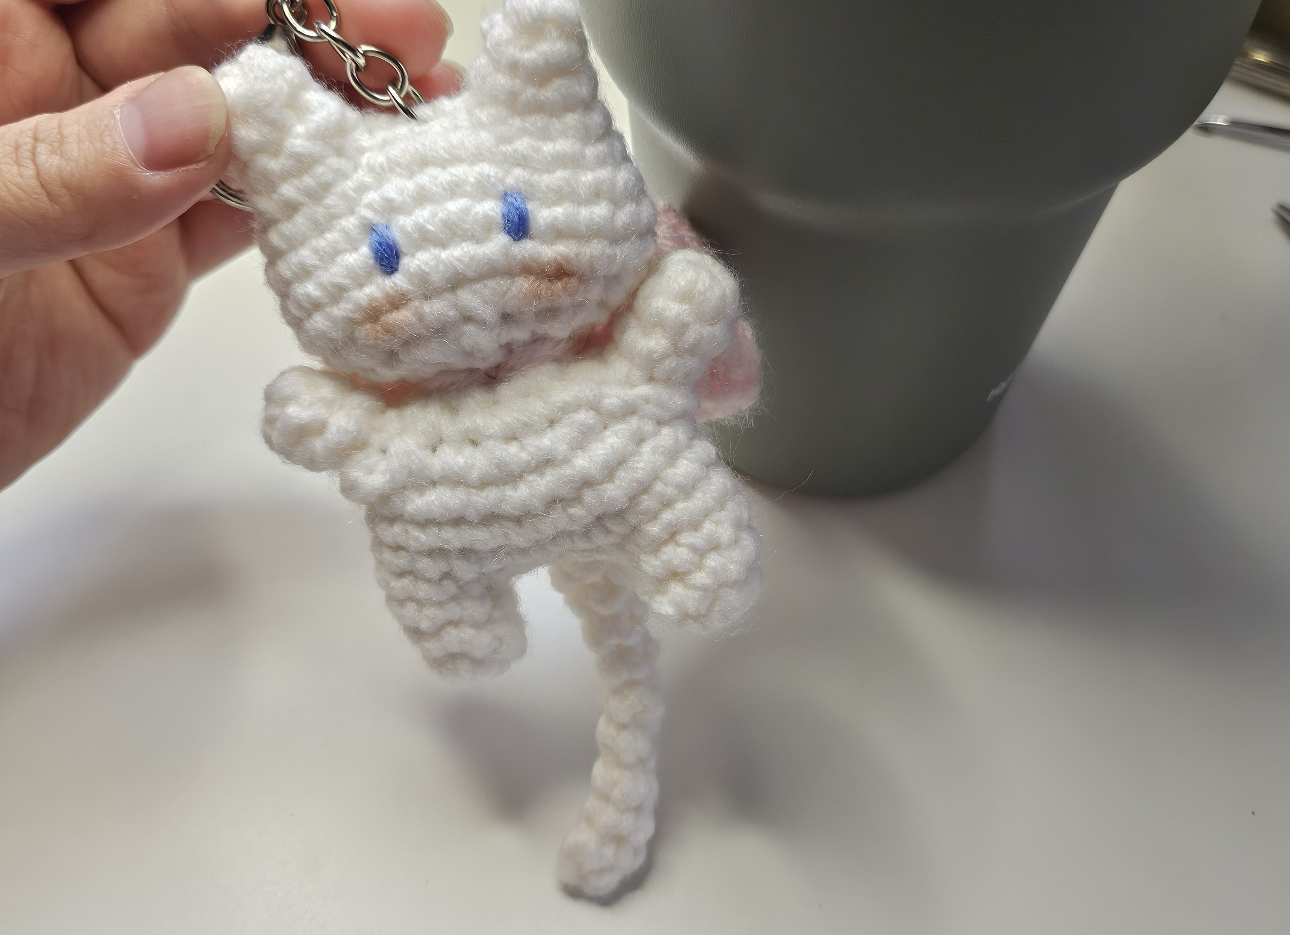
The finished photos show the cat both resting on a pumpkin and hanging from a short metal chain. Those views help reveal how the tail, limbs, and head sit when the piece is displayed or carried.
Follow the video near the end for the crochet instructions and construction. These notes focus on handling the soft yarn, balancing the pieces, and finishing the charm securely.
Choose Yarn That Keeps the Small Shapes Clear
The pictured cat uses soft white yarn with a slightly fuzzy surface. That texture gives it a plush appearance, but it can make individual stitches harder to see.
Before starting, work a few stitches with your chosen hook. Check whether you can locate each stitch comfortably and whether the fabric is close enough to contain any filling specified in the pattern.
Prepare:
- White yarn for the cat.
- Blue yarn for the stitched eyes.
- Pink yarn for the contrasting details.
- A crochet hook suitable for your yarn.
- Toy stuffing, scissors, and a yarn needle.
- Stitch markers.
- Optional keychain hardware.
Check the tutorial for the demonstration supplies. The finished photos do not establish an exact hook size, yarn quantity, or measurement.
Keep Track of the Rounds
Use a marker to identify the starting point and move it as you work. Count at the shaping changes rather than waiting until a piece looks uneven.
With fuzzy yarn, gently separate the fibers to locate a stitch opening. Avoid working into a nearby gap simply because it is easier to reach.
If you need to undo stitches, work slowly. Repeatedly pulling a fuzzy strand through tight stitches can damage some yarns.
Shape the Head Without Stretching the Fabric
Add stuffing gradually where directed and distribute it evenly around the head.
The face needs a smooth surface for the blue eye stitches. A firm lump behind one cheek can make the features appear uneven, even when their placement is correct.
Check the head from the front and both sides before closing the relevant opening. Keep the intended shape without filling so firmly that gaps appear between stitches.
Follow the tutorial’s construction for the pointed ears. Do not assume they need the same filling or finishing as the broader head.
Balance the Ears and Facial Details
The tall ears are a strong part of the silhouette. Compare their height and angle before completing any attachments.
Look at the head straight on, then turn it slightly to each side. Check that one ear does not lean outward much more than the other unless that is intentional.
Place the Blue Eyes Together
Temporarily mark both eye positions before stitching. Leave enough room beneath them for the lower face and cheek accents.
The pictured eyes are small blue marks rather than separate glossy eyes. Follow the tutorial’s stitch method and keep the embroidery gently tensioned.
Pulling firmly can sink a feature into the stuffing or create a dent in the white fabric. Work a small section, then step back to assess the expression.
Secure the ends inside the work and check for loose surface loops.
The peach cheek color is optional. The photo does not identify the product used, so test any chosen material on spare yarn before applying it.
Compare the Small Limbs Before Assembly
The cat’s short arms and legs frame the compact body. Compare matching pieces for size, shape, and firmness before attaching them.
Follow the tutorial’s filling instructions for each part. A small arm may need a different amount of filling from a broader body.
Temporarily position the limbs and check the cat from the front. Make sure both arms remain visible and the legs sit comfortably beneath the body.
Secure the intended attachment areas without pulling so tightly that the white fabric gathers into a deep crease.
Arrange the Tail and Pink Details
The long tail contributes to the hanging outline, so check its position with the cat suspended as well as resting flat.
Follow the tutorial’s tail construction and attachment. Keep the connection secure while allowing the tail to sit naturally rather than twisting across the legs.
Position the pink back details according to the demonstration. Check them from both sides so they remain visible without pushing the arms forward or tilting the body.
The front photographs do not reveal every part of the back construction. Use the video for the exact shape and connection of these pieces.
Finish the Keychain Connection
The pictured charm hangs from hardware near the top of the head. Follow the tutorial’s method for supporting that connection through the crochet.
Suspend the completed cat briefly while supporting it with your hand. The face should remain visible, and the chain should not pull on an ear or decorative piece.
Choose hardware that suits the finished size. A heavy clasp can overwhelm a small plush cat and place extra strain on the attachment.
Check that metal edges do not snag the fuzzy yarn. Inspect the hanging point again after the first few uses.
Personalize the Cat’s Colors
White and blue create the pictured soft palette. Cream, gray, or ginger yarn can suggest a different cat while keeping the same general design.
Choose an eye color that remains visible against the face. If changing the main yarn, compare the pink accents with it before making all the pieces.
Finish one complete sample before making a set. Use it to compare the head proportions, ear angles, and tail length.
Watch the Angel Cat Tutorial
The full video includes the pattern and step-by-step demonstration. Follow it for the head, body, limbs, tail, angel details, and assembly.
Pause before securing the face and before completing the hanging connection to check the placement on your own cat.
Check the Finished Cat
Inspect the closures, limb seams, tail, pink details, and keychain connection. Weave in the remaining ends securely.
For gifting, leave room around the ears and tail in the packaging. Support the body when moving the cat rather than pulling on a limb or the chain.
A smoothly shaped head, balanced ears, and neatly placed blue eyes give this little cat its expression. Careful assembly keeps those details clear when it becomes a hanging charm.
Watch every stitch up close
Pair these written notes with the complete video tutorial.
Made with yarn, shared with love. 🧶💗