
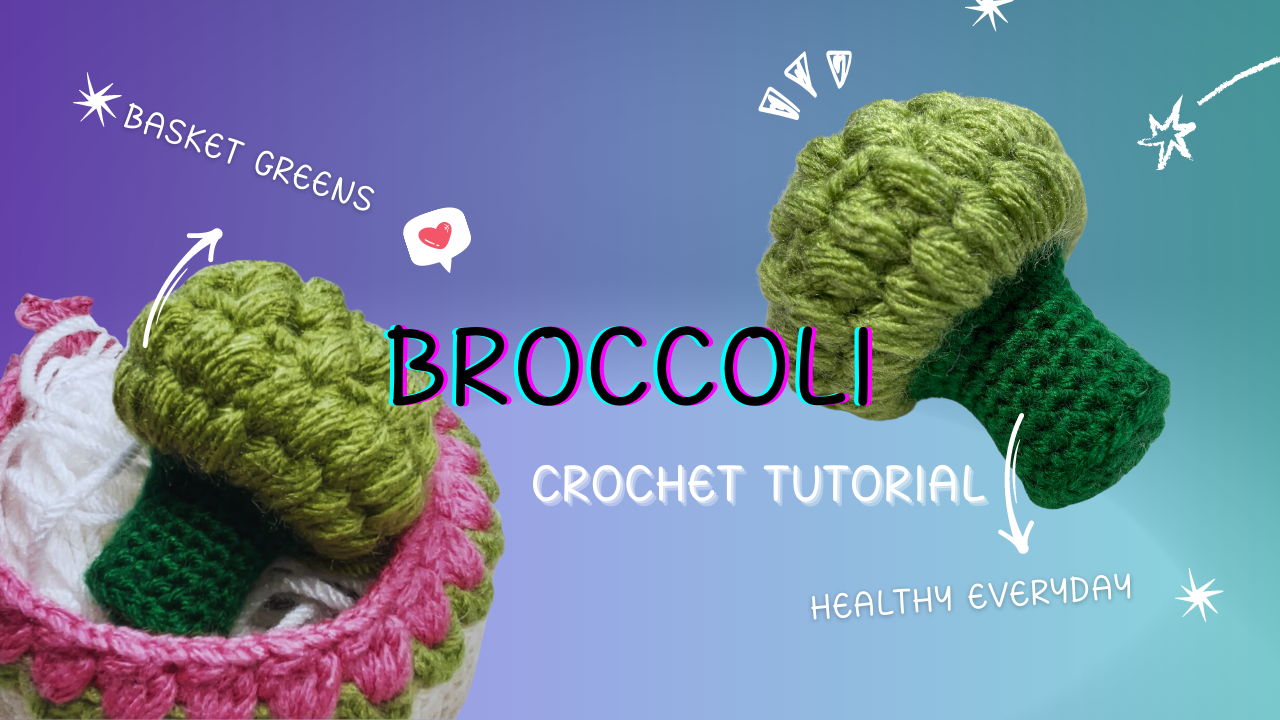
Crochet Broccoli Amigurumi: A Textured Crown on a Simple Stem
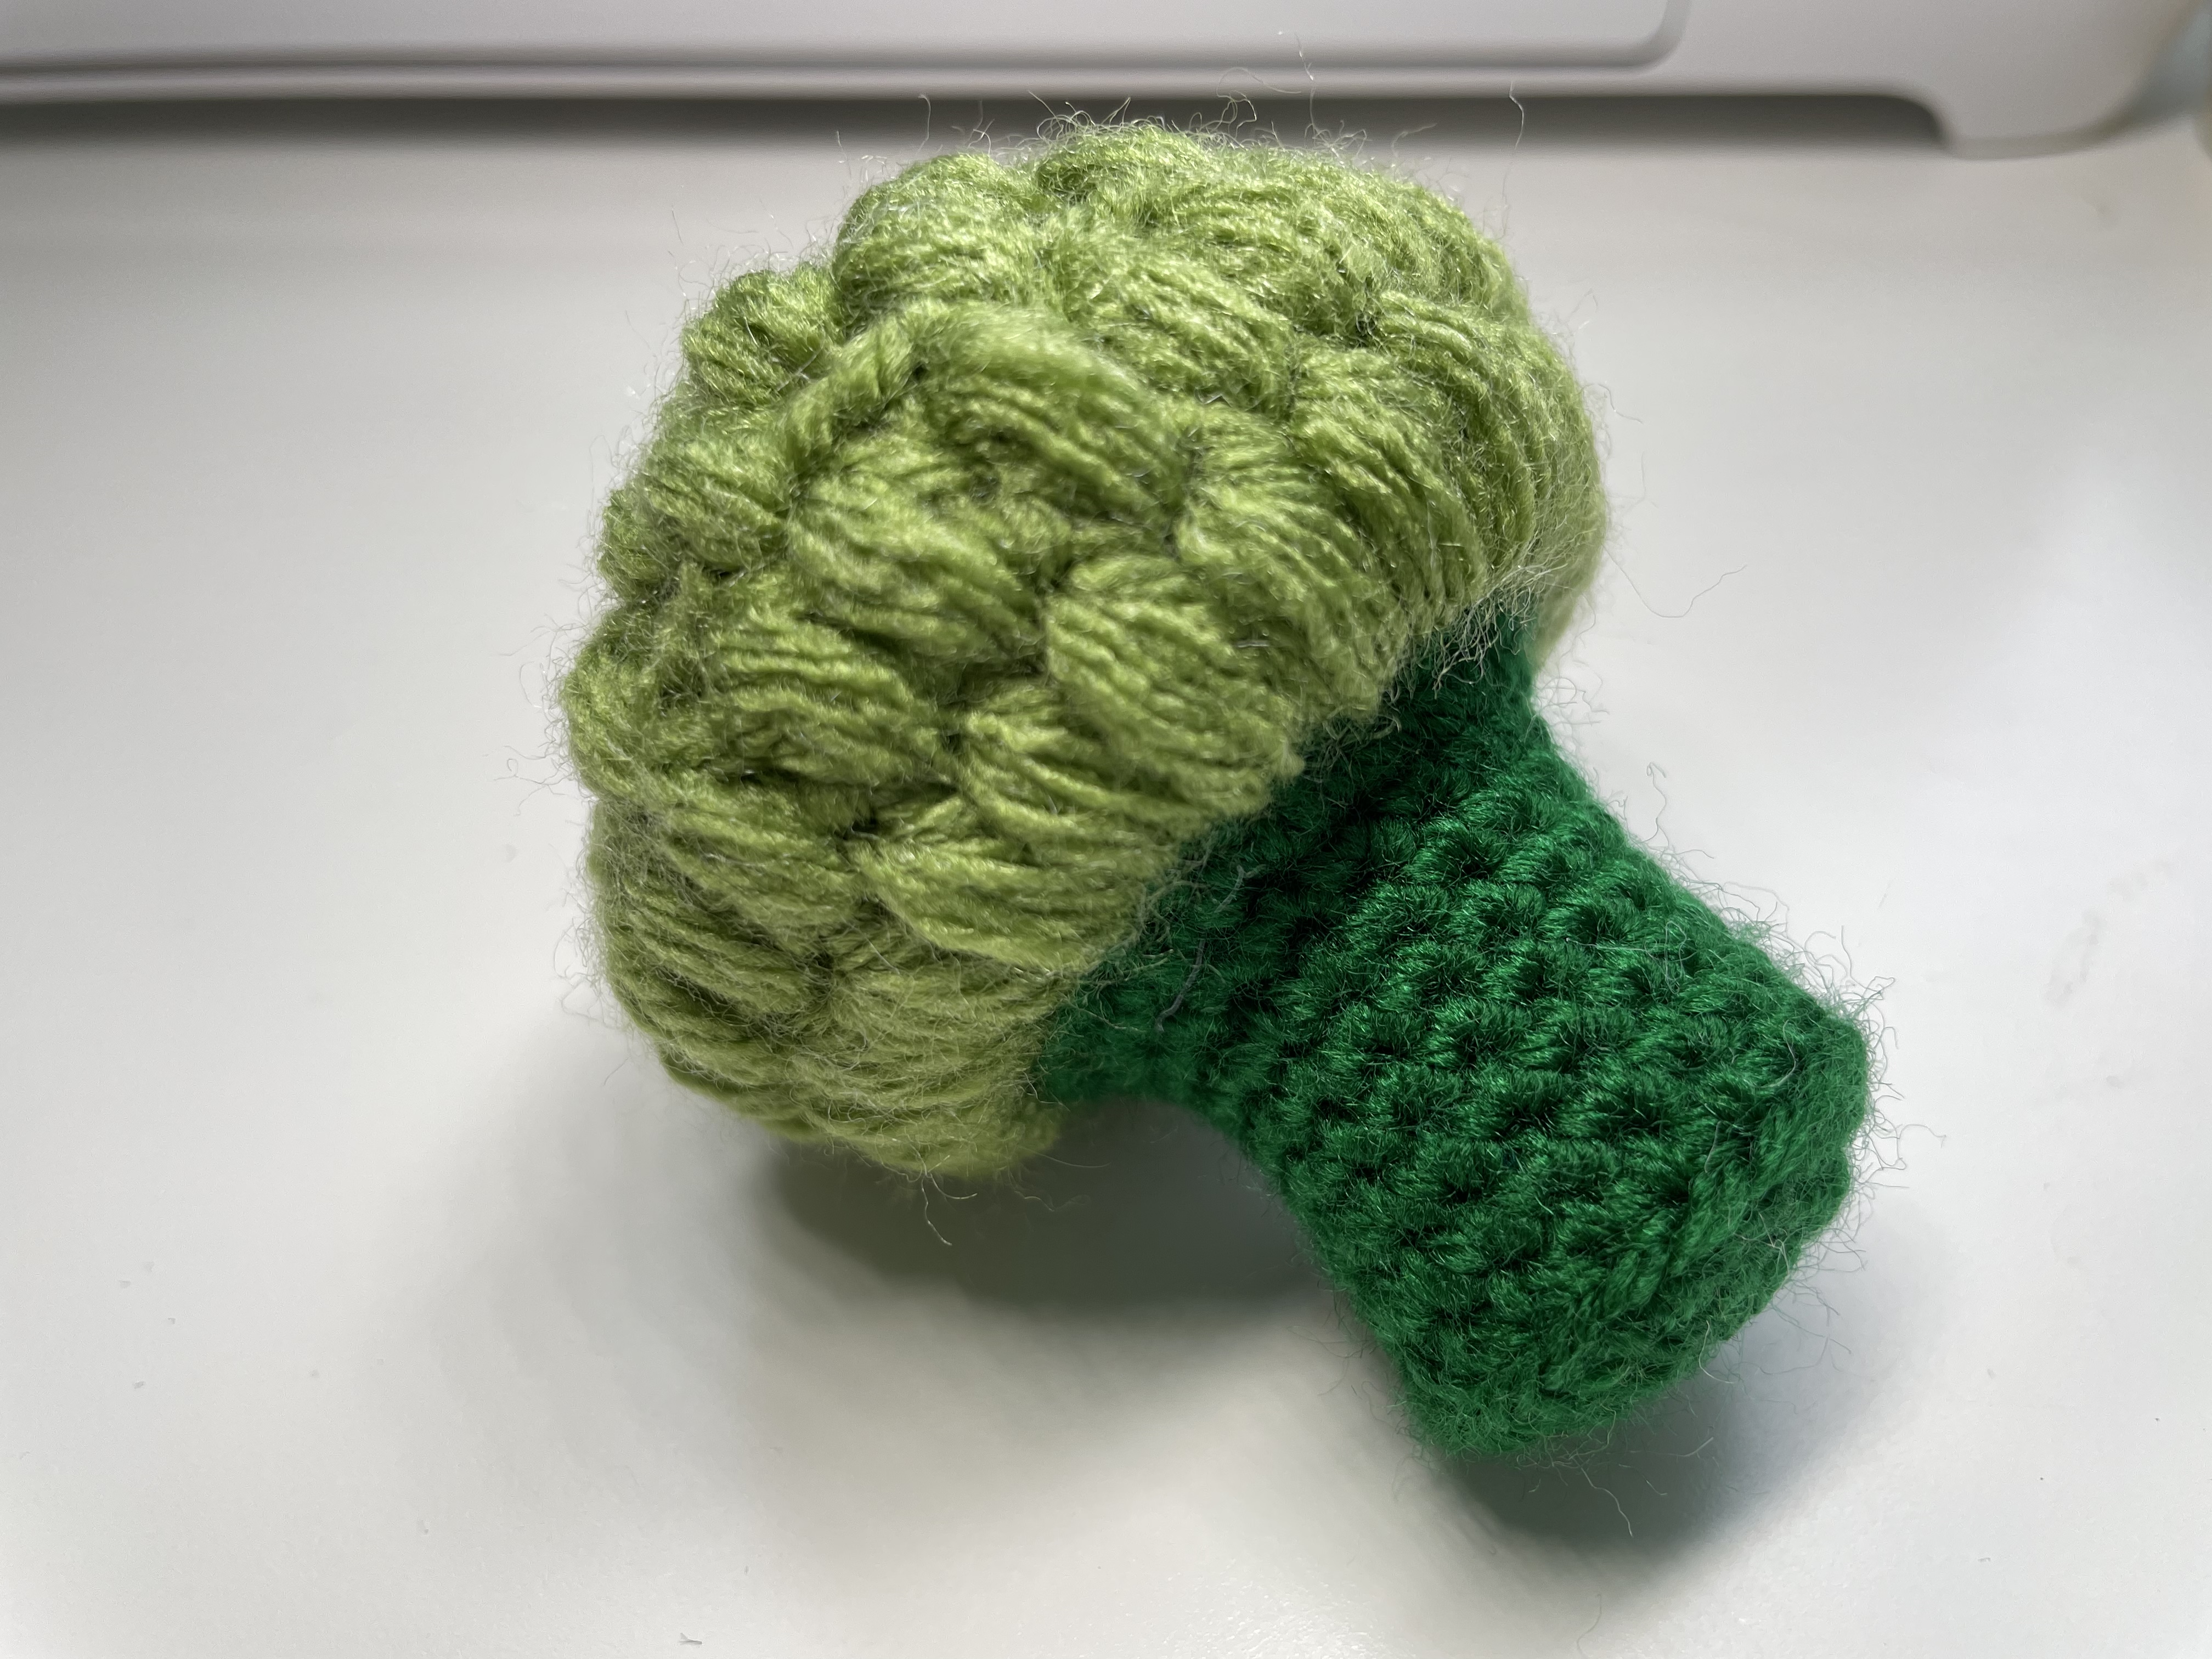
This little broccoli gets its character from two contrasting surfaces. The dark green stem is smooth and narrow, while the lighter crown is covered with plump raised groups. There is no face or extra decoration to assemble: the change of color, stitch texture, and width creates the vegetable's shape.
The construction is more direct than it first appears. Begin at the bottom of the stem, crochet upward in joined rounds, widen the opening, and continue in light green for the crown. The crown then narrows in stages before filling and closing. Because the two sections connect through the crochet itself, there is no separate crown-to-stem seam to position.
Materials and preparation
Gather dark green yarn for the stem and light green yarn for the crown, a compatible crochet hook, filling, a yarn needle, scissors, and a stitch marker. Use yarns of similar thickness so the change in stitch texture, rather than a large change in yarn size, creates the fuller top.
No fixed gauge or finished dimensions are established in these notes. A smooth yarn is helpful for seeing the dark stem stitches and locating the spaces between the crown groups. Aim for firm fabric that holds its shape without making it difficult to draw the textured groups through.
The tutorial runs about 20 minutes. Before starting the crown, watch the demonstrated raised stitch closely and practice it with a small length of spare yarn. Its appearance depends on the height and fullness of the drawn-up loops.
Read the pattern before starting
These instructions use US terms: `ch` is chain, `sc` single crochet, `sl st` slip stitch, `inc` two single crochets in one stitch, and `BLO` back loop only. A repeat such as `(2 sc, inc) × 6` means work that sequence six times.
The video labels the crown stitch “popcorn.” Follow the actual demonstrated loop-building and closing action rather than substituting a different stitch solely because it has the same name in another pattern. The close-up shows a bundle of loops held on the hook and drawn together. The captions do not give a separate numerical formula for the loops in each group, so this guide retains the source's stitch name without inventing a five-double-crochet replacement.
A crown group and its following chain space form a repeat unit. Count completed groups when checking the crown rounds; do not count every strand in a group as a separate working stitch.
- Crochet the dark green stem
Start with a magic ring. Join each round with a slip stitch, following the lifting-chain method shown in the video. Keep the joining slip stitch out of the working count.
| Round | Instruction | Working stitches | | --- | --- | ---: | | 1 | 6 sc in a magic ring; join. | 6 | | 2 | Increase in every stitch; join. | 12 | | 3 | (Sc, inc) 6 times; join. | 18 | | 4 | Sc in the back loop only of all 18 stitches; join. | 18 | | 5–10 | Sc in every stitch; join each round. | 18 per round | | 11 | (2 sc, inc) 6 times; join. | 24 | | 12 | Sc in every stitch; join. | 24 |
Round 4 is a useful detail: working into the back loops leaves the other loops visible at the lower edge and helps define the change from the base to the upright stem. Return to the normal stitch placement for the following plain rounds.
Rounds 5–10 are six complete rounds. Mark each completed round on paper if the dark yarn makes the horizontal rows hard to distinguish. An accidental increase here will widen the stem before the intended flare at Round 11.
At Round 11, each repeat uses three old stitches and produces four new ones. Six repeats take the stem from 18 to 24 stitches. Round 12 maintains that width, establishing the attachment positions for the first crown round.
Finish the dark green yarn as shown and conceal its end. Keep the top opening accessible while joining the light green yarn.
2. Build the raised crown
The crown continues the round numbering from the stem. It starts at Round 13; it is not a separately numbered component that later needs sewing on.
| Round | Captioned sequence | Completed groups | | --- | --- | ---: | | 13 | Ch 2; work the demonstrated popcorn group in each of the 24 base stitches, with the separating chain shown; join. | 24 | | 14 | Ch 2; repeat the groups into the previous round's chain-1 positions; join. | 24 | | 15 | Ch 2; reduce to 12 groups, skipping alternate repeat positions as demonstrated; join. | 12 | | 16 | Ch 2; work 12 groups around; join. | 12 | | 17 | Ch 2; reduce to 6 groups, again skipping alternate repeat positions; join. | 6 |
In Round 13, keep the loop height similar in every group. A very short group disappears into the dark green edge; a much taller one sticks out beyond its neighbors. Count the 24 groups before beginning the next round.
For Round 14, the video specifically identifies the previous chain-1 position as the insertion point. Watch the gap between groups rather than searching for a conventional single-crochet V on top of each rounded bundle. Consistent placement keeps the textured rows arranged around the crown.
The first reduction is deliberate: Round 15 changes from 24 groups to 12. Do not work an ordinary single-crochet decrease in place of the demonstrated skipped-position method. Round 16 holds the smaller circumference for another textured round, and Round 17 reduces it again to six groups.
3. Fill and close the broccoli
The video adds filling through the remaining opening near the end. Feed small amounts down into the stem first, then support the broader crown. Use the blunt end of a suitable tool gently if you need to reach the narrow section, taking care not to force it through the crochet.
Turn the piece as you fill. The stem should feel supported around its full circumference, while the crown should retain its raised surface. Filling can support the outline, but packing it tightly against the groups may open visible gaps between them.
Leave a yarn tail long enough for closing. Follow the demonstrated gathering finish through the remaining edge, bring the opening together gradually, and secure the tail inside. Check the shape before the final tightening so an uneven lump of filling is still easy to redistribute.
Count checks that prevent later problems
The most useful checkpoints are 18 stem stitches after Round 3, 24 stitches after Round 11, 24 crown groups after Round 14, and 6 groups after Round 17.
If the first crown round has the wrong number of groups, check its dark green foundation before undoing the textured work at random. There should be 24 base stitches at the end of Round 12. Also make sure you have not placed an extra group into the joining slip stitch.
If Round 14 becomes wider than the first crown round, inspect the chain-space placement. Working into both a group top and its neighboring space can accidentally double the number of repeat positions.
Troubleshooting the finished shape
The stem leans to one side. Check the plain-round count and the filling before changing the pattern. A missed stitch in dark yarn can narrow one area, while a hard lump of filling can push an otherwise even stem sideways.
Some crown groups look flat. Compare their loop height and closing tension with the neighboring groups. Also check whether they have been pressed inward during handling. Gently bring them to the outside before assuming the round must be remade.
The crown has a large exposed gap. Check that a chain space has not been skipped unintentionally in a non-reduction round. In the reduction rounds, follow the demonstrated placement rather than trying to fill each visible gap with an extra group.
The top closes into a sharp dent. Redistribute the filling and draw the closing tail in gradually. Pulling one stitch very tightly before the others can gather the surface unevenly.
Color choices and care
A lighter crown and darker stem make the texture easy to see. Olive with forest green gives a muted vegetable palette; a brighter yellow-green crown makes a stronger contrast. Keep the construction the same while changing colors, and compare both yarns in ordinary daylight before starting.
Follow the care guidance for the yarn and filling you choose. Reshape the crown gently after cleaning and allow the interior to dry fully. Store the finished broccoli without heavy items pressing against its raised surface.
Watch the original broccoli tutorial
Use the close-up demonstration to match the source's raised stitch, its closing action, and the insertion points during the crown reductions.
Enjoy the change in texture
This broccoli is a useful small project for practicing the transition from a plain tube to a textured, shaped surface. The stem's simple rounds provide a clear foundation, and the changing crown-group counts create the rounded top. With those counts checked and the filling distributed gently, the contrast between the two greens does the rest.
Watch every stitch up close
Pair these written notes with the complete video tutorial.
Made with yarn, shared with love. 🧶💗