
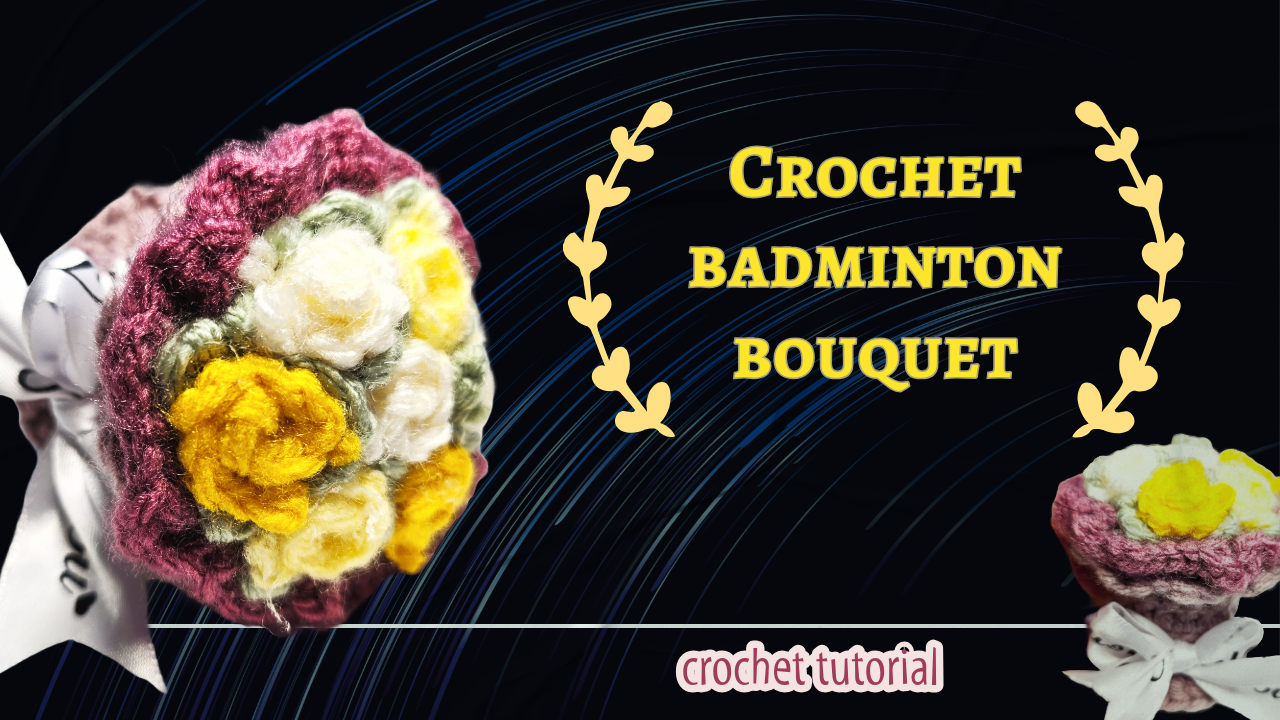
A Floral Gift with a Badminton Connection
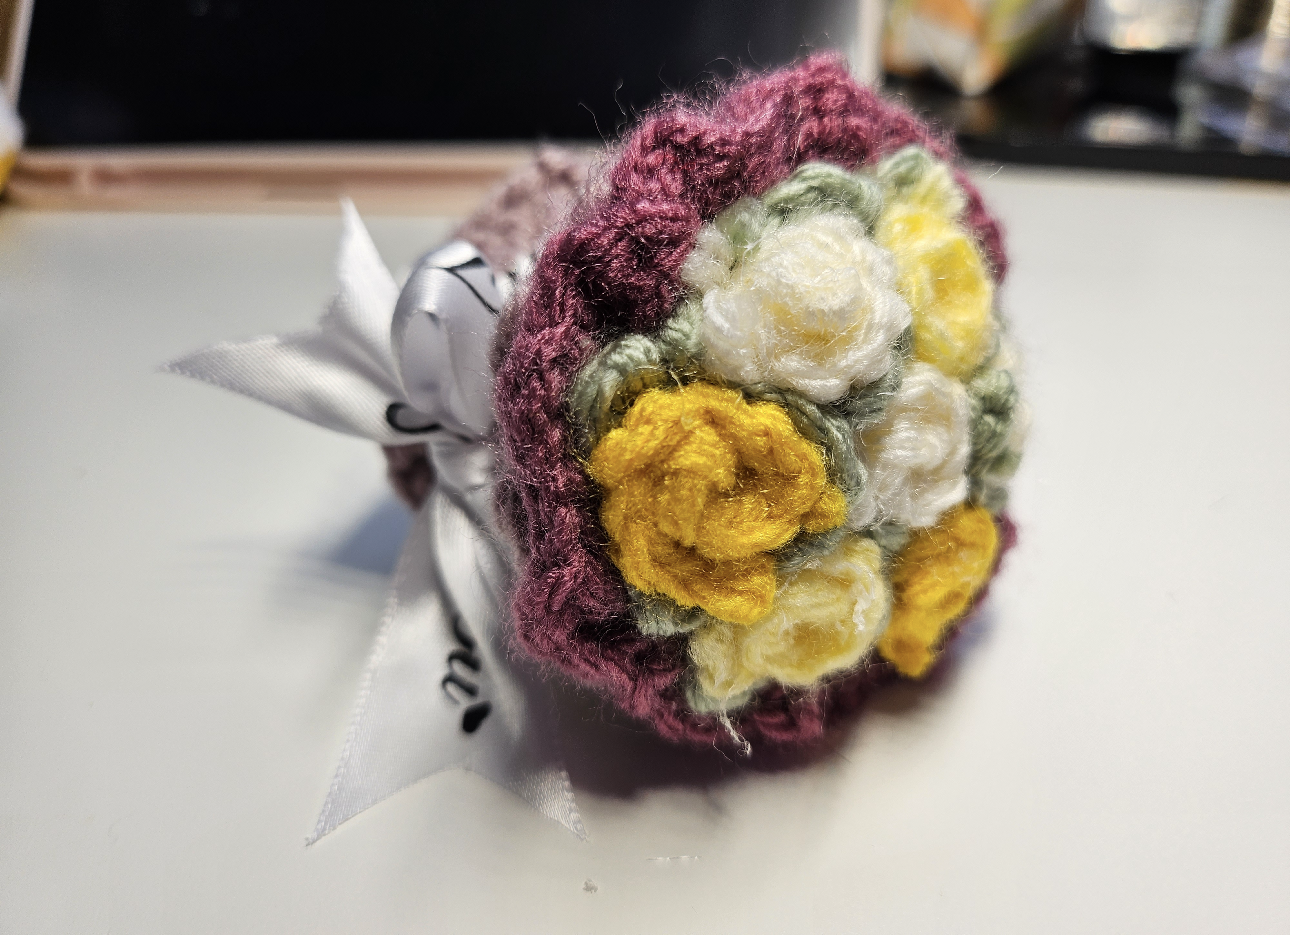
This badminton-inspired crochet bouquet brings together small yellow and cream flowers inside a purple crocheted wrap. Soft green accents separate the blooms, while a white printed ribbon finishes the narrow base.
The flower heads form a compact, rounded display. Their curled petals provide texture, and the darker purple edge frames the lighter colors.
It is a thoughtful project for a badminton partner, teammate, coach, or friend who enjoys handmade gifts. The sporting theme gives the bouquet its context, while the flowers make it suitable for displaying on a desk or shelf.
This project is based on a design by Xuxu Crochet, as credited in the accompanying video. The notes below focus on preparing the pieces, arranging the flowers, and finishing the presentation.
Plan the Palette as a Whole
The pictured version uses yellow and cream blooms, muted green accents, and a plum-purple outer wrap. Each color has a role: the flowers attract attention, the greenery separates them, and the purple creates a clear boundary.
Choose the colors together before making all the pieces. A favorite team color can work well for the wrap without changing the flower palette.
For a quieter version, try cream flowers with sage accents and a neutral wrap. For a brighter gift, keep the yellow blooms and choose a stronger contrasting edge.
Check Yarn Thickness and Texture
Use yarns that produce compatible flower sizes. A thick yellow yarn paired with a much finer cream yarn can make one color dominate the arrangement.
A slightly soft texture can suit the curled petals, but very fluffy yarn may hide the smaller shaping details. Choose materials you can work with comfortably.
Prepare:
- Yarn for the flowers, green accents, and outer wrap.
- A crochet hook suitable for the yarn.
- Scissors and a yarn needle.
- Ribbon for the finished presentation.
- Any base, support, or attachment supplies specified in the project instructions.
The finished photos do not reveal the complete internal construction. Check the video and original design information before choosing supporting materials.
Finish One Flower as a Reference
Complete one bloom before making the remaining pieces. Check its diameter, depth, and how clearly the petals can be seen.
Keep that flower nearby while making the others. Compare the cream and yellow pieces so they form a coordinated group rather than two noticeably different scales.
Small variations can make a bouquet feel lively, but an unexpectedly large flower may crowd its neighbors.
Arrange each bloom gently after crocheting. Keep the center defined and the outer petals visible rather than compressing the whole flower into a tight bundle.
Arrange the Flowers Before Securing Them
Place the completed flowers together and check the arrangement from the angle it will most often be viewed.
Distribute the yellow and cream blooms across the visible area. Grouping every bright yellow flower on one side can make the bouquet feel uneven, even when the pieces are similar in size.
Try moving one flower at a time. A small change in angle may reveal a hidden petal without requiring the whole arrangement to be rebuilt.
Leave Space for the Green Accents
The green pieces help distinguish neighboring flowers and connect the arrangement visually.
Position them where their edges can be seen, rather than hiding them entirely beneath the blooms. Avoid covering the flower centers.
Check the sides as well as the front. The greenery should support the arrangement’s outline without creating a bulky cluster behind one flower.
Frame the Blooms with the Purple Wrap
The purple edge in the photo has a softly gathered, decorative outline. It surrounds the flowers while leaving their upper surfaces visible.
Follow the project’s wrap construction and fit it around the arranged blooms before completing the attachment.
If the wrap is too tight, it can press the outer flowers inward. If it is too loose, the bouquet may lose its compact shape.
Check the proportions from the side: the flowers should sit comfortably within the wrap, with the narrower base clearly defined below them.
Secure the Arrangement Without Flattening It
Use the attachment method specified in the instructions. Support the structural parts of the flowers rather than pulling only on their outer petals.
Check each connection after securing it. A bloom should remain in position without being compressed or tilted by an uneven attachment.
Inspect the back and underside before hiding the final yarn ends. Those areas matter when the bouquet is lifted, displayed, or given as a gift.
Add the Ribbon Last
Tie the ribbon after the crochet arrangement has been secured. The bow should finish the presentation rather than hold an unstable bouquet together.
Keep it below the main flower heads, where it will not cover the petals or green accents.
Trim the ribbon ends to suit the scale of the piece. Long tails can create a flowing presentation, while shorter ones may be more convenient for a compact desk display.
Watch the Badminton Bouquet Video
The accompanying video presents the project and the purple version made as a gift. Use it alongside the credited design information to check the construction and finished arrangement.
Package the Bouquet with Room Around the Flowers
Choose packaging that supports the base and leaves space above the blooms. Avoid wrapping tightly across the flower heads, which can flatten their curled petals.
A small note can explain the badminton connection or mention a match, practice session, or shared memory that inspired the gift.
For display, choose a holder that supports the base without squeezing the wrap. Lift the bouquet by supporting its lower section rather than pulling on a flower or ribbon tail.
Design credit: This project is based on a design by Xuxu Crochet. Credit the original designer when sharing your version and use photographs of your own finished work.
Watch every stitch up close
Pair these written notes with the complete video tutorial.
Made with yarn, shared with love. 🧶💗