
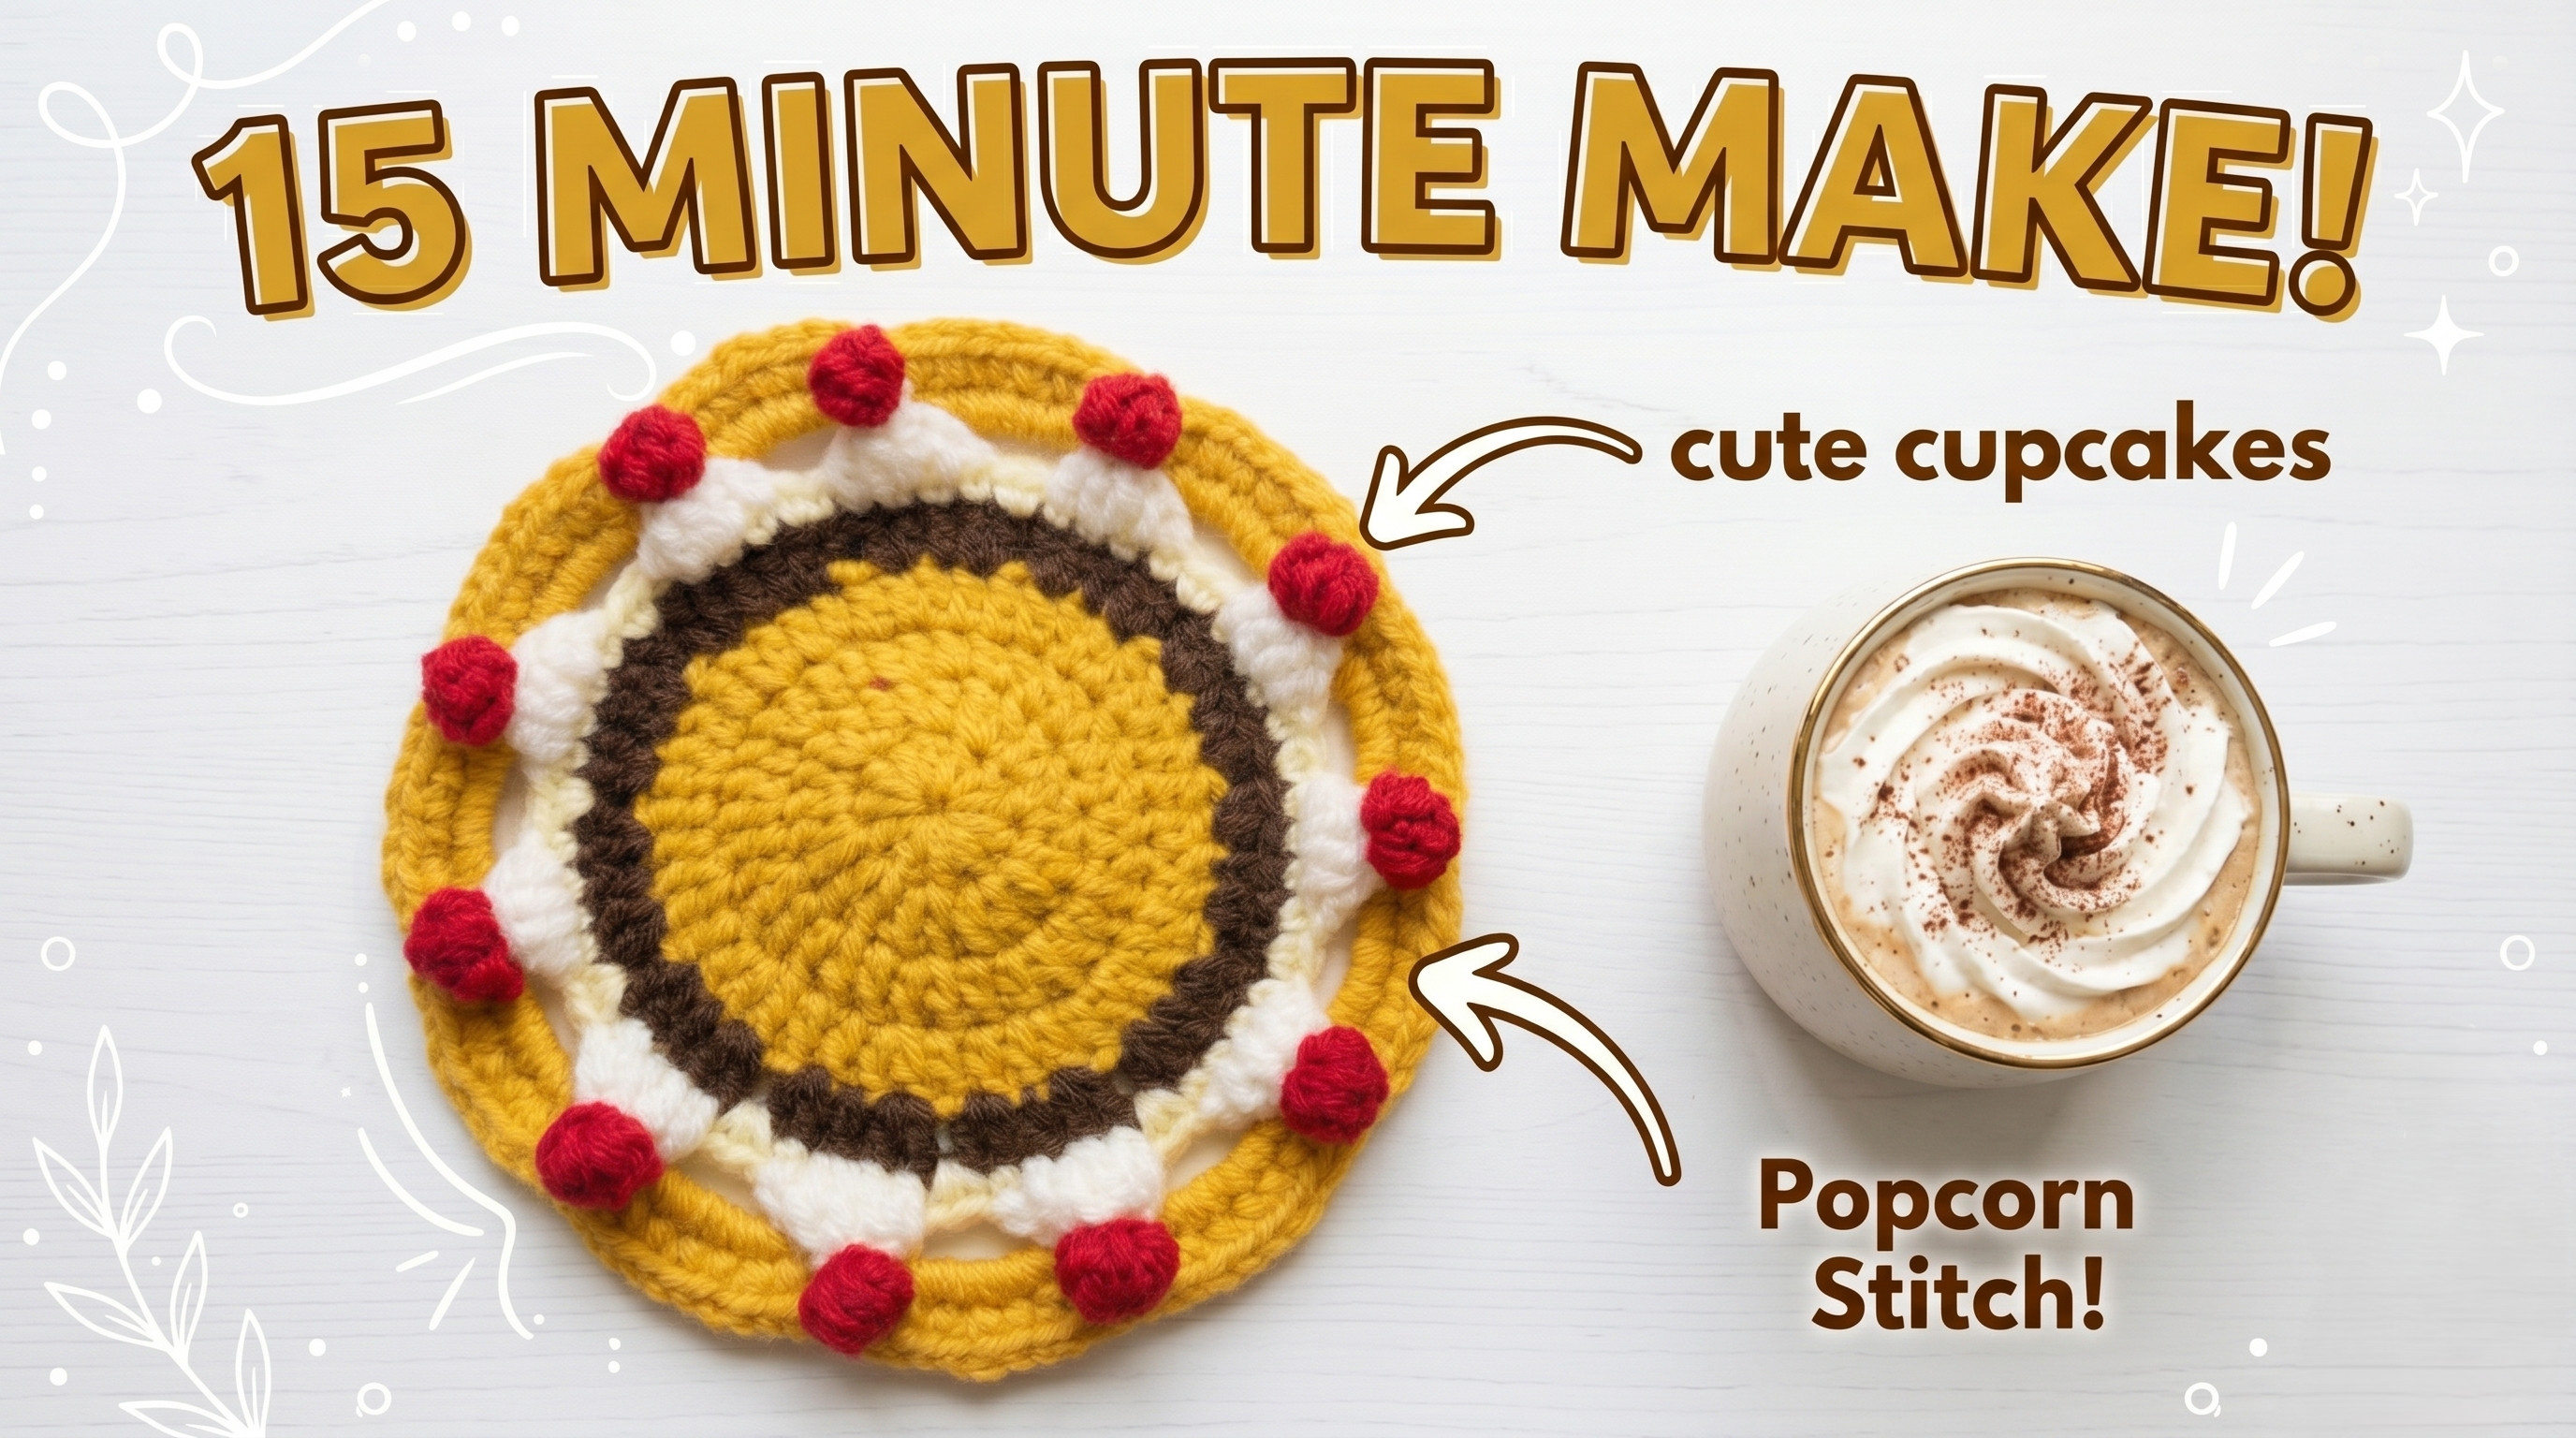
This crochet coaster turns a familiar coffee-shop palette into a decorative ring of miniature cupcakes. A golden center provides the main resting area, while brown, cream, and red details create the dessert-inspired border.
The contrast between the flat center and textured edge is what makes the design work. The center needs to sit comfortably beneath a mug; the raised decorations have room to show around it.
It is a useful project for combining small amounts of several yarn colors. Before choosing leftovers, check that they are reasonably similar in thickness and have compatible care instructions.
This guide accompanies the Crochetnotes video below. Use the demonstration for the complete stitch sequence, especially the textured repeats and their insertion points.
Choose Yarn for a Working Coaster
The tutorial specifies worsted-weight yarn in yellow, brown, white, and red. It does not list an exact hook size in the public description.
For a coaster you intend to wash regularly, choose a washable yarn with clear stitches. Cotton is a practical option, but your finished size and texture may differ from the demonstrated version.
Use a hook that produces an even fabric without making the center unnecessarily stiff. A very thick border yarn can overwhelm the center and reduce the space available for a mug.
Supplies to Prepare
- Golden-yellow yarn for the center.
- Dark-brown yarn for the coffee-colored section.
- White or cream yarn for the decorative texture.
- Red yarn for the cherry accents.
- A suitable crochet hook.
- Scissors and a yarn needle.
- A stitch marker, if helpful.
Choose a mug for the final fit check before starting. Its base diameter matters more than how wide the cup looks at the top.
Keep the Center Even
Follow the video for the circular center and increase placement. Lay the work on a level surface between rounds to inspect its shape.
If it cups upward, check the stitch count and whether the edge is being pulled tightly. If it ripples, look for extra stitches or an uneven increase sequence.
Do not stretch the circle flat to hide a counting error. A lightly shaped finish can improve the appearance, but the underlying round needs to be correct.
The original article includes selected count checkpoints rather than a complete written pattern. Use the video to establish how the beginning chains are counted and where each increase belongs.
Add the Brown Section
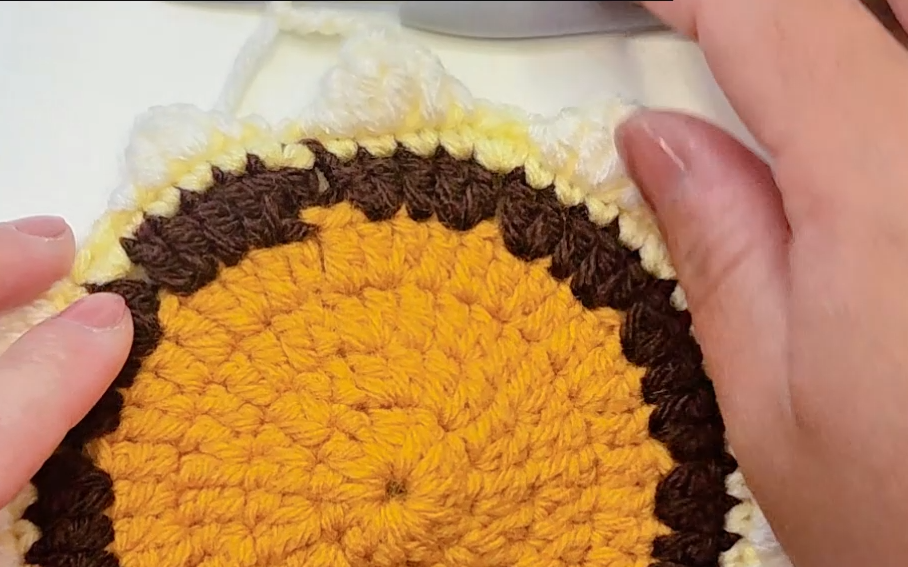
The darker section separates the golden center from the pale decoration. Keep the color join tidy and check that the new round follows the circle without drawing it inward.
Before beginning the decorative repeats, count the foundation carefully. Even spacing at this stage helps the outer details sit consistently around the coaster.
Weave contrasting tails through matching-color stitches where possible. A brown tail traveling through the cream edging may show on the front.
Work the Cream Texture Consistently
Follow the demonstration for the popcorn stitches and chain spaces. Watch how each raised section is closed and where the next repeat begins.
Complete the first repeat carefully before settling into the rest. Compare neighboring sections for height and spacing rather than concentrating only on the total number.
Keep the chains comfortable to work into. Tight spaces can pull the border together, while loose, uneven chains may leave one decorative section sitting farther out than the others.
Popcorns and bobbles are constructed differently. Follow the stitch demonstrated in each section rather than substituting one because the names sound similar.
Place the Red Cherry Accents
The small red details give the pale border a focal point. Make them according to the video and check their positions before securing the finishing ends.
Keep the attachments compact so the red pieces do not pull the cream sections out of shape. Inspect the reverse side for loose loops that could catch when the coaster is picked up.
Leave enough room for the cream texture to remain visible around each accent. At this scale, placement matters more than adding extra decoration.
Test It Beneath Your Mug
Put the finished coaster on a level table and place an empty mug in the center.
Check whether the mug’s base rests on the flat area or overlaps the raised border. It should sit steadily without rocking against the decorative sections.
If the base extends onto the textured edge, use a smaller mug or keep the piece as a decorative mat. Flattening every popcorn to accommodate a larger mug would change the design.
After any washing or shaping, let the coaster dry completely and repeat the fit check before using it.
Watch the Crochet Tutorial
The video demonstrates the circular base, cupcake-inspired border, and red accents.
Useful chapter points:
- 0:28: Base.
- 3:03: Cupcake decoration.
- 7:37: Cherry accents.
- 8:33: Finished coaster and color ideas.
Pause during the first textured repeat to check the insertion points and stitch closure. Understanding that repeat makes the remaining border easier to follow.
Try Another Dessert Palette
Golden yellow, brown, cream, and red create the coffee-inspired version. For a strawberry variation, try a soft-pink center with cream texture and red accents.
A chocolate-brown center with a lighter tan border gives another warm combination. Keep enough contrast between adjacent sections that the individual shapes remain clear.
For a matching set, use the same yarn range and hook, then vary only the center color. Finish and test one coaster before repeating the design.
Care and Gift Presentation
Follow the care instructions for every yarn used. After cleaning, gently arrange the decorative edge and dry the coaster flat.
Check for color transfer during the first wash, particularly where red meets white. Avoid packing the coaster away while it is damp.
For a gift, place the coaster flat in a shallow box or tie a small set loosely together. Include a care note and leave the raised border uncompressed.
Project and video tutorial by Crochetnotes.
Watch every stitch up close
Pair these written notes with the complete video tutorial.
Made with yarn, shared with love. 🧶💗