
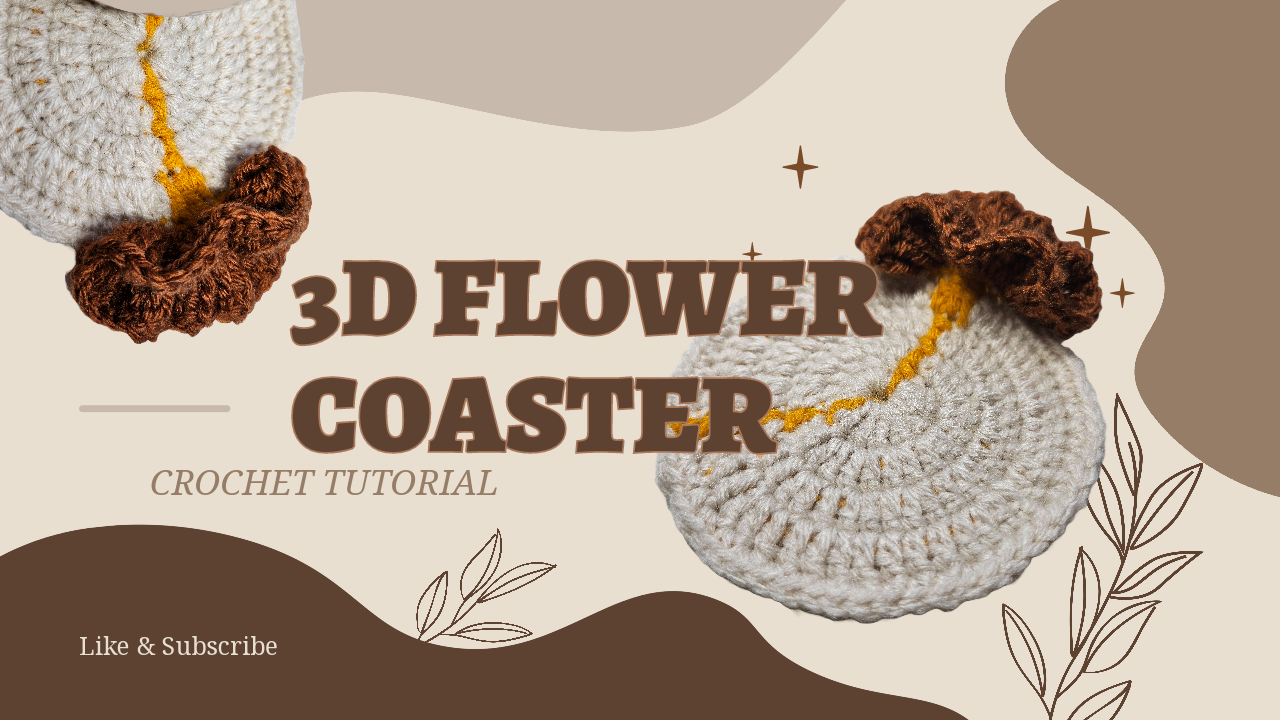
3D Flower Crochet Coaster: A Flat Base with a Ruffled Floral Detail
A dimensional flower changes how a coaster looks and how it needs to be finished. The brown ruffles in this design draw attention to one side of a cream base, while a narrow yellow accent connects the decoration to the rest of the piece. The important balance is between the raised detail and the flatter area beneath the cup.
This project has two different working rhythms. The base uses repeated increases, and the flower adds several tall stitches to each supporting loop. Work the base carefully before starting the ruffles: decorative volume cannot correct a base that cups, twists, or rocks on the table.
The instructions below transcribe the visible stitch captions and explain their construction. The source does not provide a fully reconciled chart for the contrasting section and optional sixth base round, so those limits are identified rather than replaced with an invented stitch total.
Materials and useful checks
Prepare cream yarn for the base, yellow for the contrasting detail, brown for the flower, a compatible hook, scissors, a yarn needle, and a stitch marker. Keep an empty mug nearby for a practical fit check.
Use yarns of similar thickness unless you deliberately want a finer flower. A heavy flower on a much lighter base can pull the coaster sideways. For a usable coaster, choose a washable yarn that suits moisture and the intended surface; cotton is an option, not a fiber specification established by the video.
No fixed hook size, gauge, yarn quantity, or finished diameter is supplied here. Your mug's actual contact area is a more useful reference than an assumed coaster measurement. This project is a mug accessory; no heat rating for cookware is established.
Stitch key
US terms are used: `ch` chain, `sc` single crochet, `dc` double crochet, `tr` treble crochet, `sl st` slip stitch, and `FLO` front loop only. `Dc inc` means two dc in one stitch; `sc inc` means two sc in one stitch. The source writes slip stitch as `SS`.
In US treble crochet, yarn over twice before inserting the hook, draw up a loop, then yarn over and pull through two loops three times. Keep these stitches long enough to form soft folds without leaving loose loops at their bases.
1. Work the cream base and yellow accent
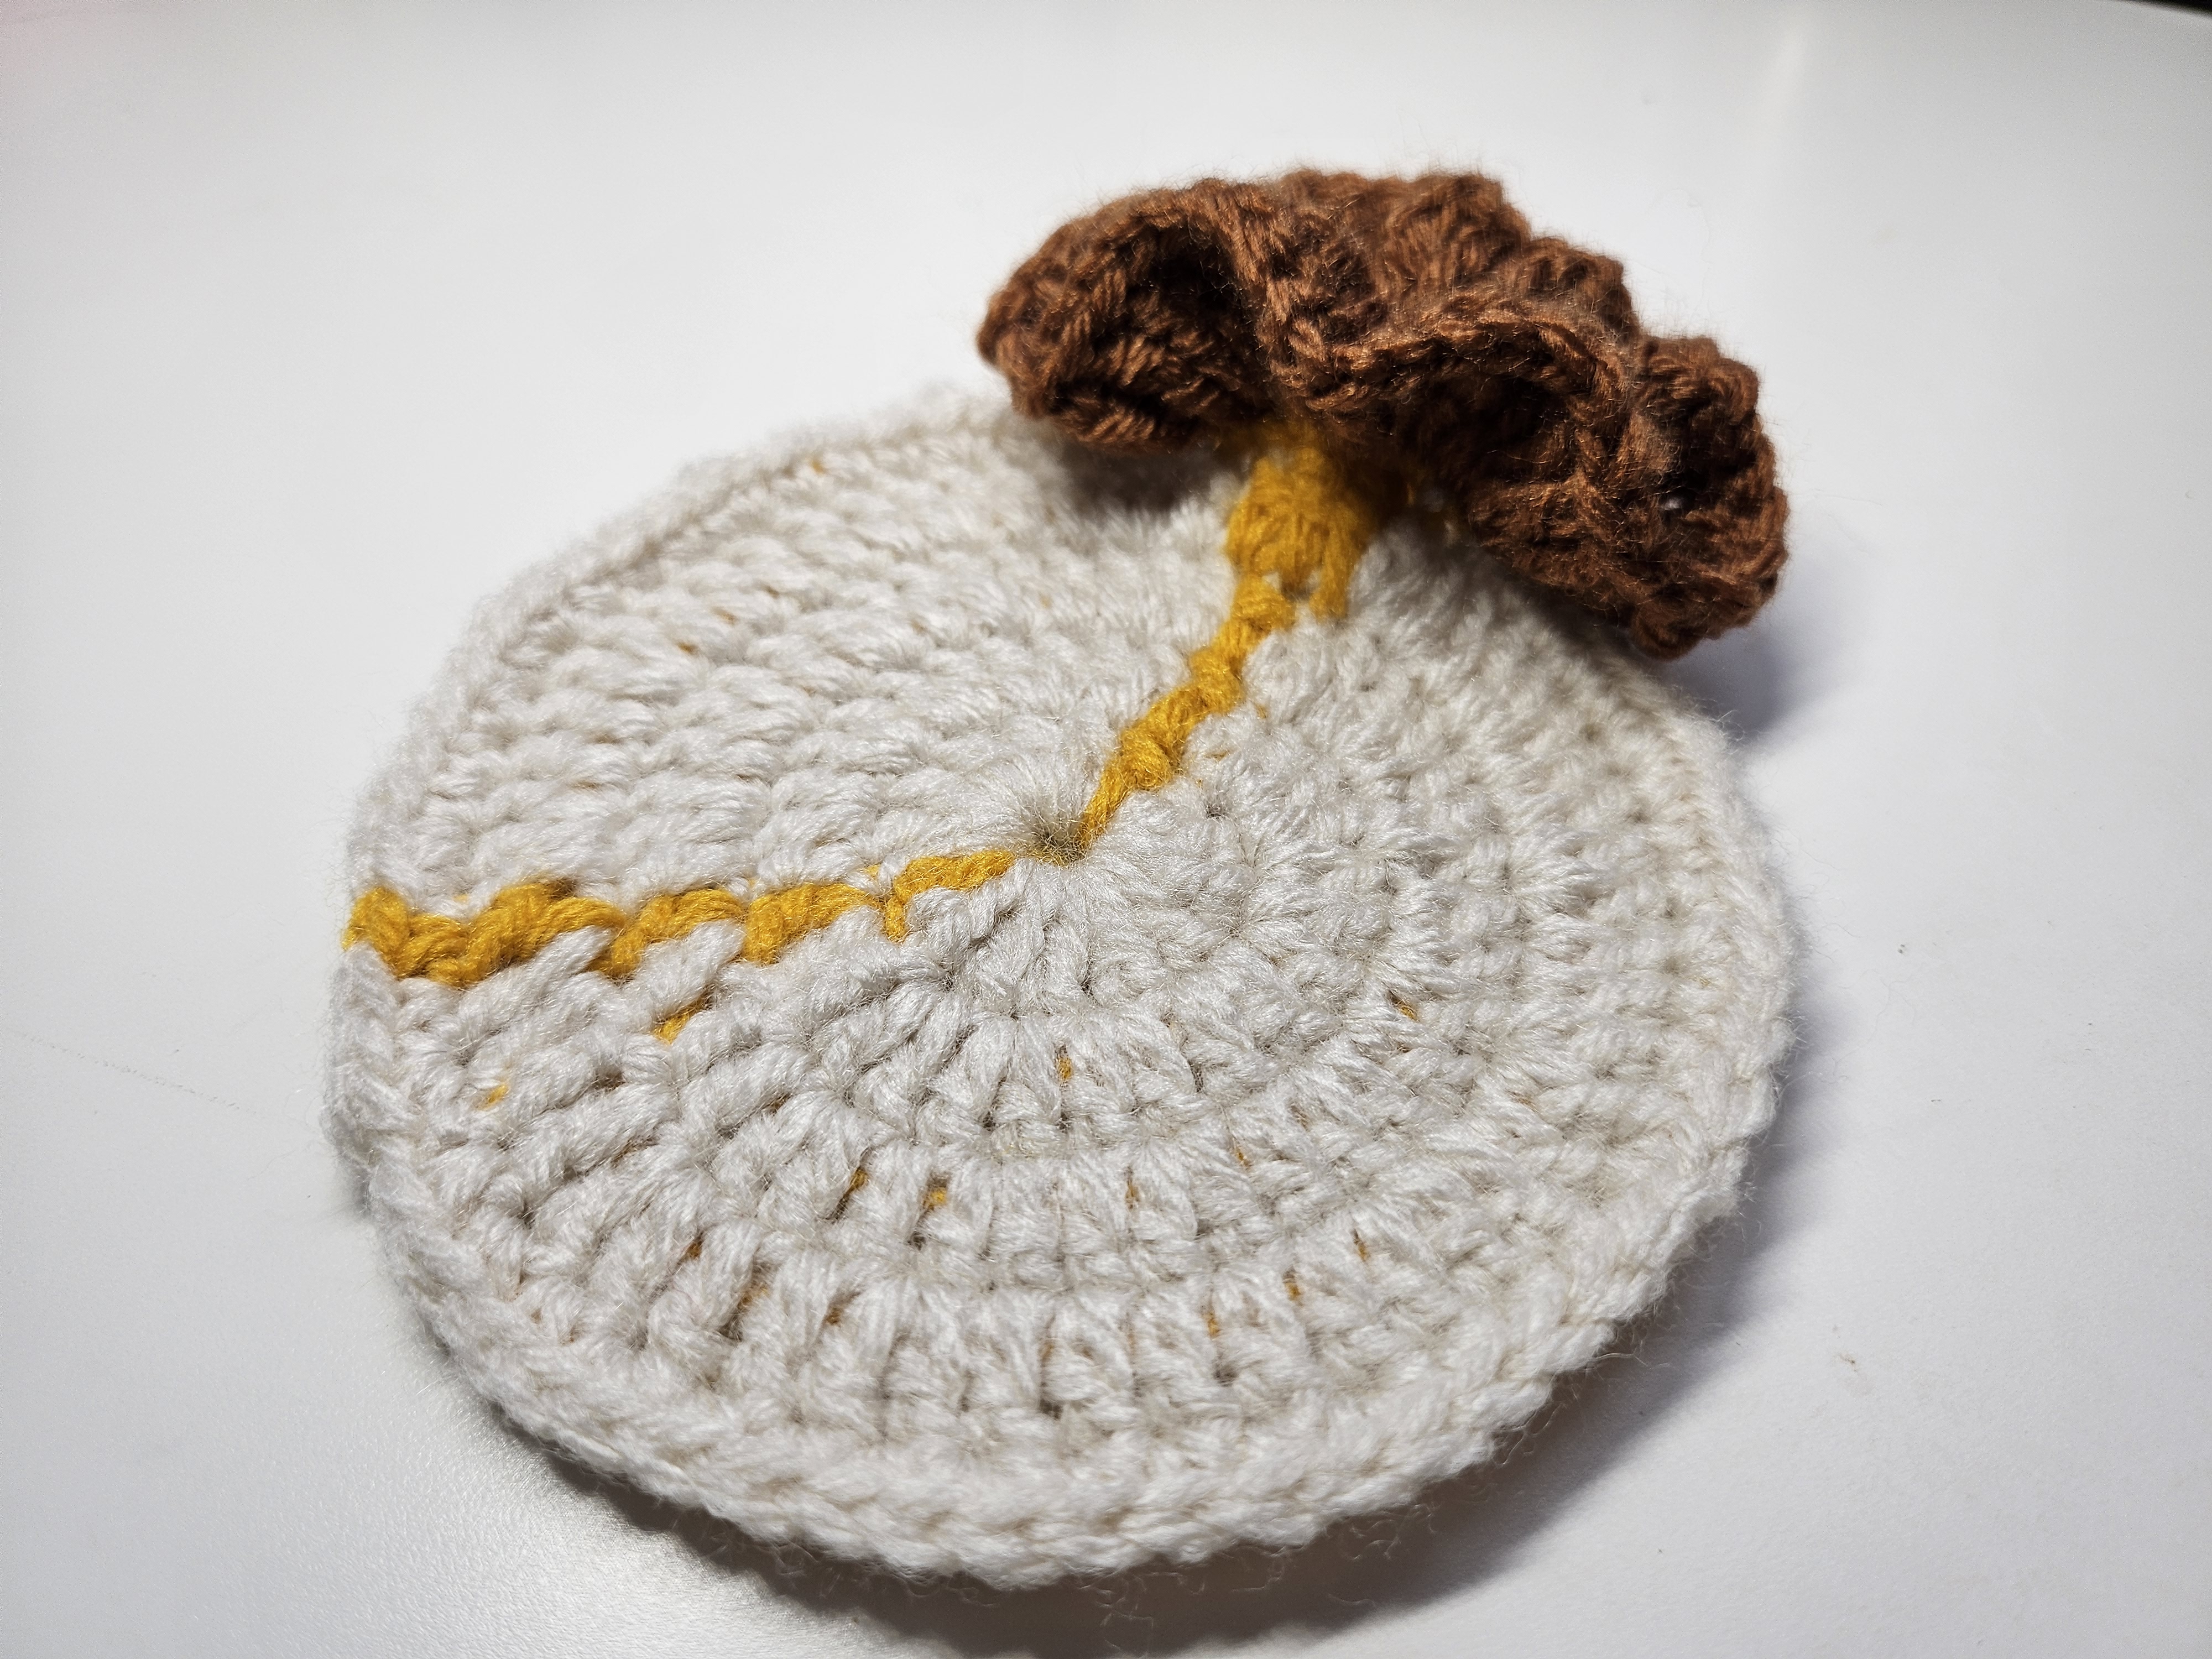
Begin with the starting loop and lifting method demonstrated. The first caption specifies 15 double crochets. Keep a marker at the beginning and compare the yellow connection with the close-up before closing the round.
| Video round | Caption transcribed into US terms | | --- | --- | | R1 | 15 dc; sl st | | R2 | 15 dc increases; sl st | | R3 | Repeat (dc, dc inc); sl st | | R4 | Repeat (dc, dc inc, dc); sl st | | R5 | Repeat (3 sc, sc inc); sl st | | R6 | (3 sc, sc inc); sl st, with an on-screen note referring to repeating the previous round for a larger coaster |
The fourth-round grouping places a plain dc on either side of the increase. Retain that order instead of relocating every increase to the end of a group. The fifth round changes the working stitch from double crochet to single crochet.
How to read the counts: `15 dc inc` means fifteen increases, not fifteen plain dc followed by one increase. In the main-color section, fifteen repeats of the R3 group produce 45 stitches, and fifteen repeats of the R4 group produce 60. Those are arithmetic checks on the displayed groups, not a verified total including every yellow connection or lifting stitch.
Sixth-round limitation: applying the displayed R5 group fifteen times would produce 75 stitches. Repeating an unchanged four-base-stitch group over 75 stitches does not divide evenly. The R6 caption does not explain a remainder or a revised grouping. Check the demonstrated ending if using that optional enlargement; do not assume that an unshown correction is part of the source pattern.
2. Keep the yellow detail integrated
The video changes between cream and yellow during construction. The yellow detail is present before the brown flower is worked; it is not simply a line embroidered onto a completely finished cream disk.
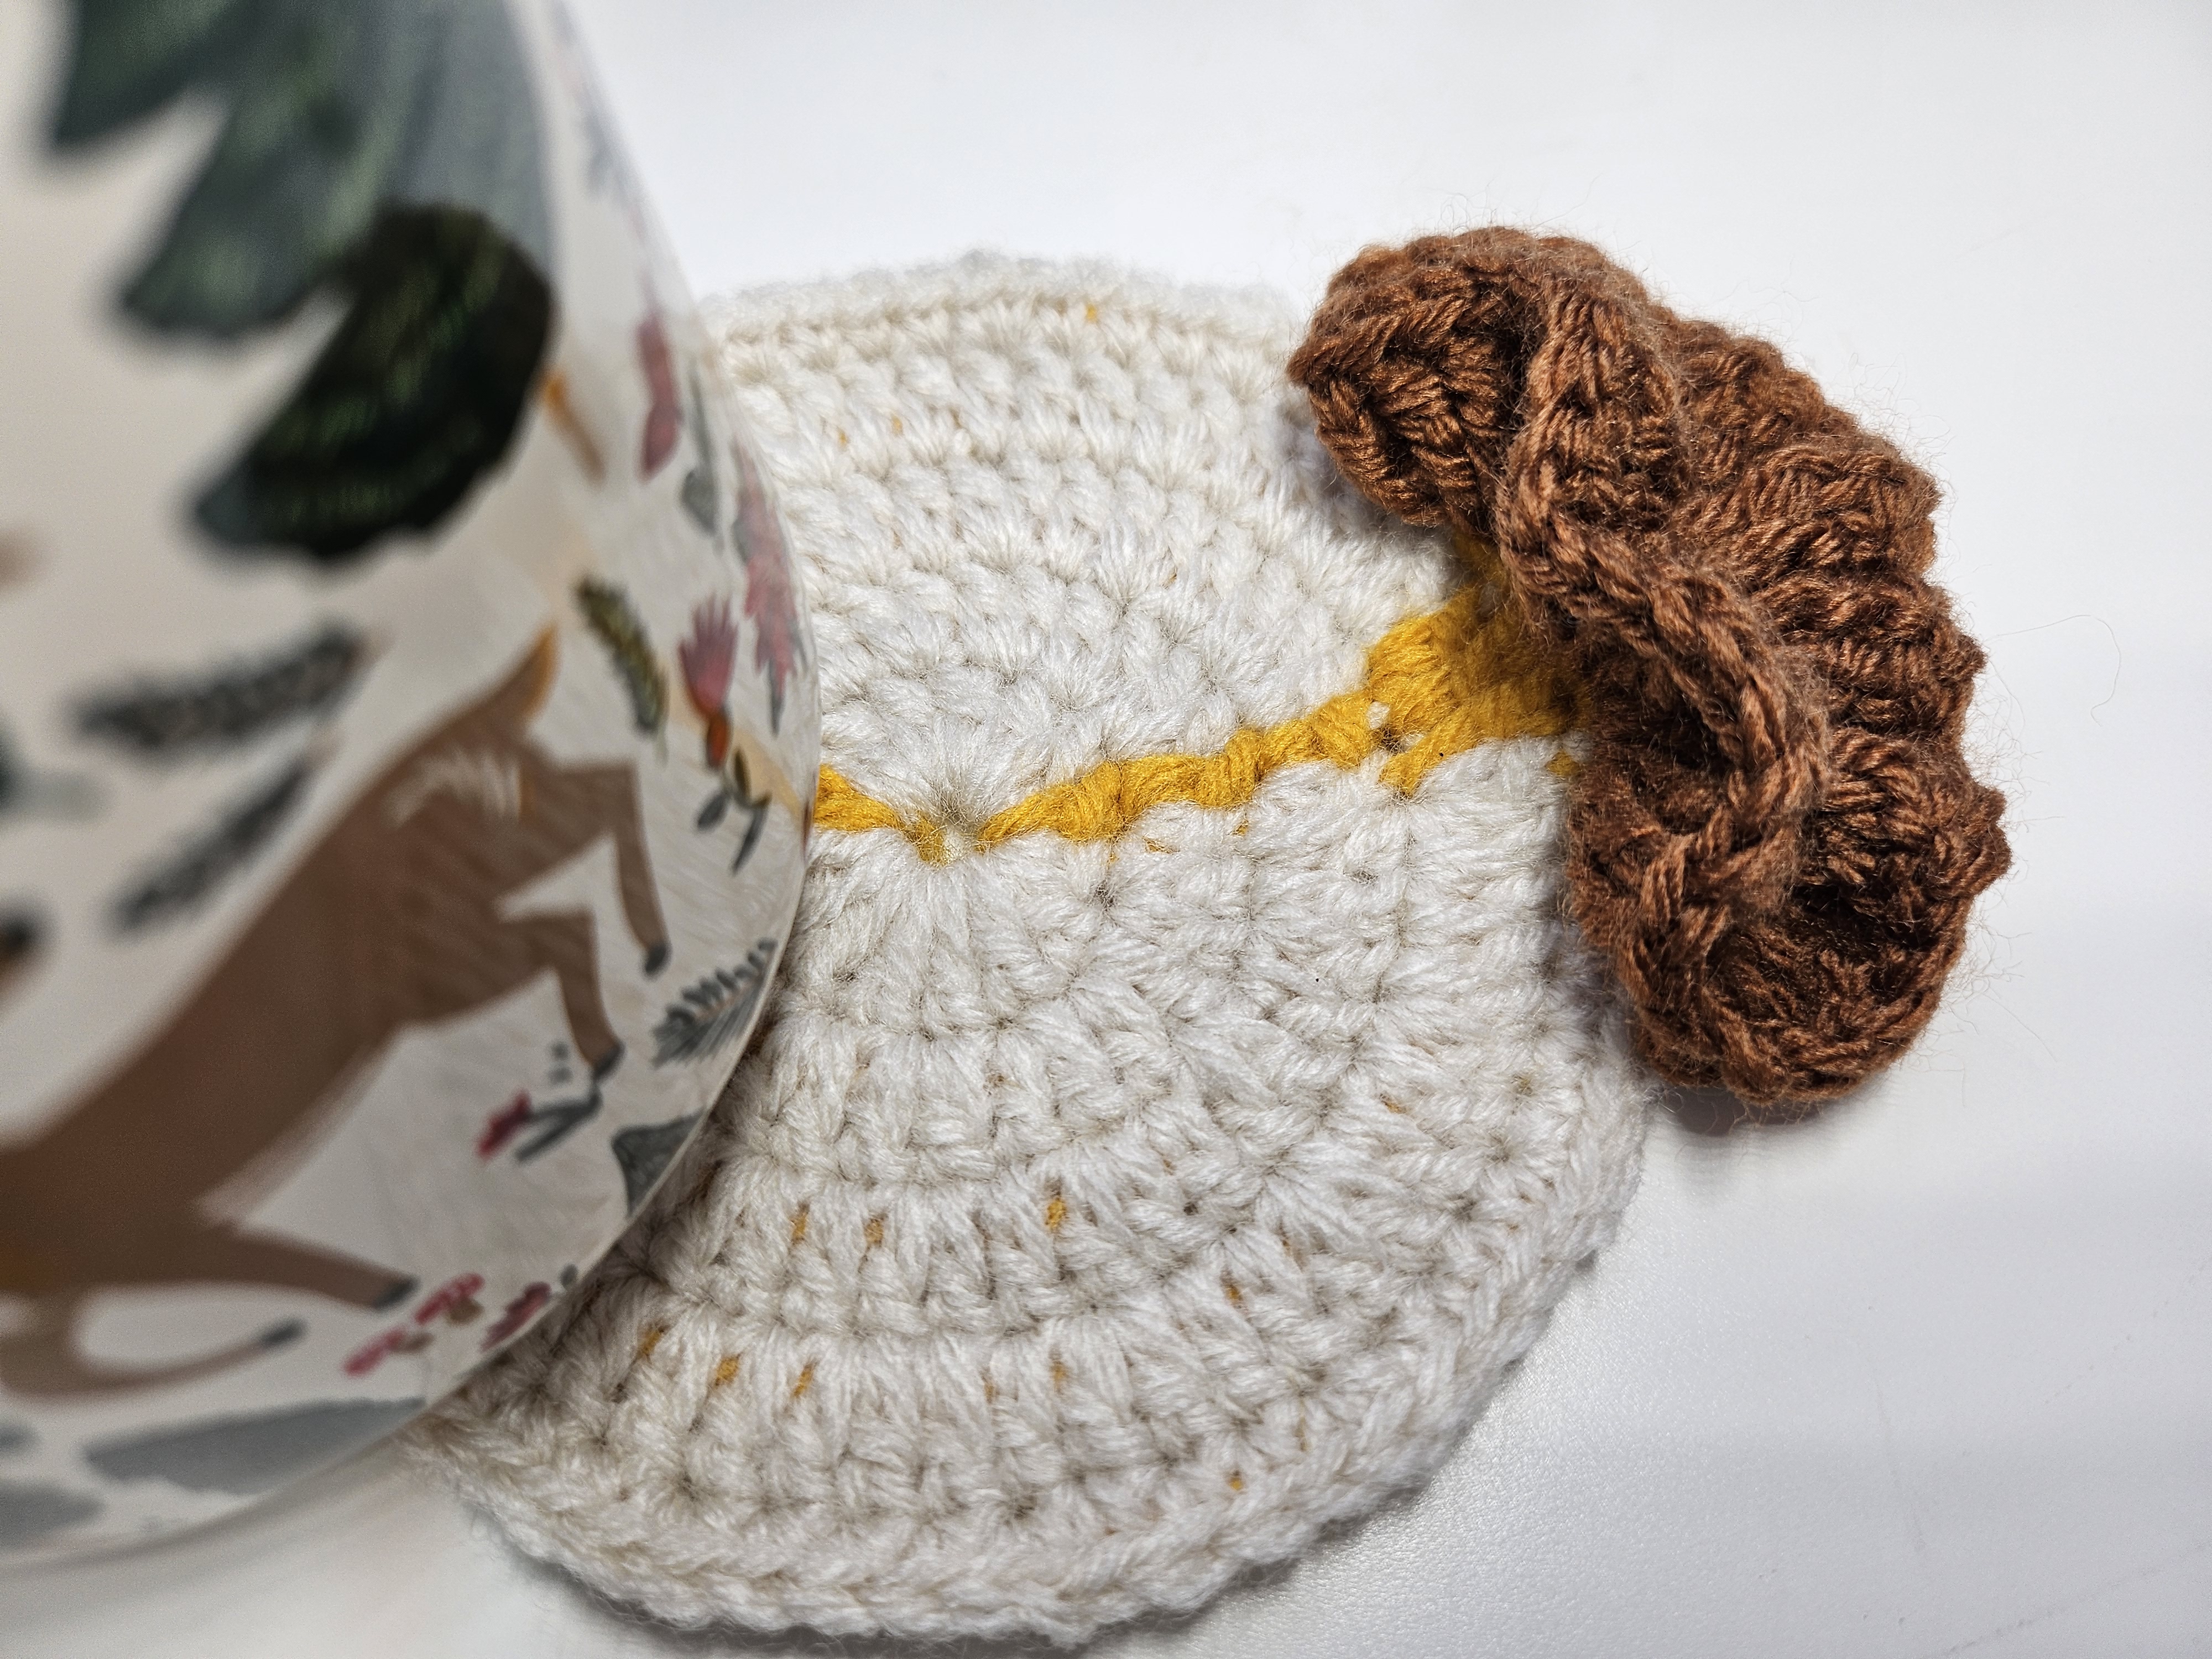
Follow the close-up for the yellow insertion points and color transitions. Retain the contrast strand without pulling the base inward. When returning to cream, inspect the last yellow stitch and the first cream stitch so neither becomes unusually loose.
The captions above summarize the main round formulas rather than supplying a separate stitch-by-stitch color chart. Avoid assigning an unsupported number of yellow stitches to every round. Mark the demonstrated contrast position on your own work and use it as the reference for the next round.
Lay the fabric down between rounds. It should settle without needing to be held flat. A seam that gathers tightly needs attention before more stitches are added around it.
3. Add the brown ruffled flower
At the yellow position shown near the end of the video, introduce the flower color. The caption reads:
`Ch 4, FLO 4 tr.`
The explanatory text specifies four treble crochets on each stitch, front loop only. Follow that supported route in the close-up. Four tall stitches sharing a supporting loop create much more fabric than the base underneath them, which is what produces the gathered, ruffled appearance.
Keep the front-loop instruction: working through both loops changes how the raised section sits. Also keep the flower route distinct from the coaster's ordinary outer edge; the caption is not an instruction to cover the entire cream perimeter with four trebles in every stitch.
Support the base loop with your fingers as you work the group, and let the tall stitches spread. If you tighten each group sharply, the supporting fabric may pucker instead of allowing the ruffle to fold freely. Complete the demonstrated end connection and secure the tail on the reverse.
4. Finish and test the coaster
Weave in the cream tails within the cream fabric and keep the darker ends inside the flower where possible. Spread the finishing stitches instead of building a thick knot directly beneath the cup area.
Place the coaster on a level surface and set an empty mug on the flatter section. Look from the side. The base of the mug should make even contact without resting on a ruffle. Lift and replace it a few times to check that a comfortable position is easy to find.
If the mug rocks, inspect three areas: the base itself, the underside where the tails were secured, and the edge of the flower. Correct the cause before using the coaster with a drink. Gentle blocking appropriate to your yarn may help the fabric settle, but it cannot replace a missed increase or undo an incorrect repeated group.
Common questions
Why does the cream base cup?
Check the increase placements, the treatment of the lifting chain, and the yellow connection. A tightly carried contrast strand can draw the fabric inward even when the cream groups were counted correctly.
Why is the flower stiff?
Compare the treble height and check whether you worked into the front loop only. The tall stitches need room to fan out. Pulling every loop very tightly makes a rigid cluster instead of a soft ruffle.
Can I make a matching set?
Finish and test one coaster first. Use it to compare the others' flat contact areas and flower placement, not just their outside diameters. Keep your own record of the source's contrasting section and optional enlargement so you can repeat the same version consistently.
How should I wash it?
Follow your yarn's instructions. Reshape the base while damp and lift the flower folds gently. Let the underside dry fully before storing it, and avoid crushing the raised detail beneath a heavy stack.
Watch the original tutorial
Use the close-ups for the cream-and-yellow connection, the optional final base round, and the exact front-loop route of the flower.
Give the flower room to stand out
A successful version has a relaxed base, secure color changes, and a flower that can fold upward without disturbing the cup. Complete those checks before making a set or wrapping the coaster as a gift. The contrasting yellow detail and brown ruffles then provide decoration while the cream fabric does the practical work.
Watch every stitch up close
Pair these written notes with the complete video tutorial.
Made with yarn, shared with love. 🧶💗